 |
 |
 |
|||||||||||||
Neil's 6 Series Restoration Page 2
16 March 2009 Not quite as soon as we had hoped, but its still progress. |
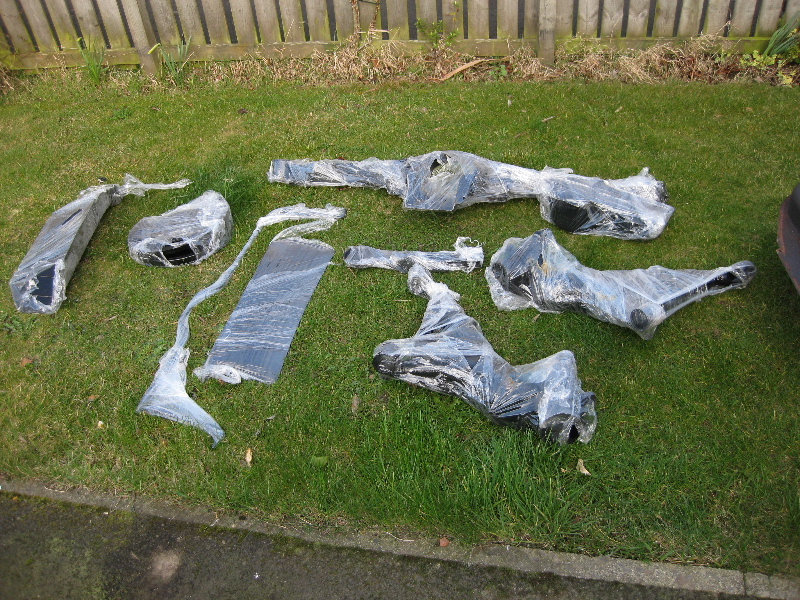
But first, the rear axle parts are back from the powder coaters |
 |
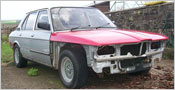
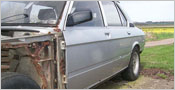
| A reminder shot of the rear arch as it was, there has definitely been some bad repairs carried out here before |
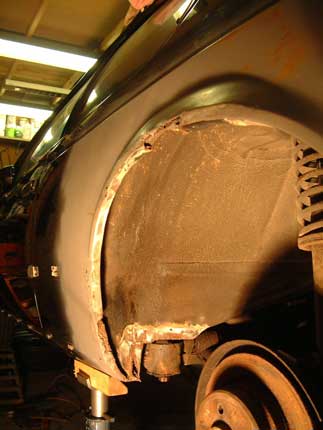 |
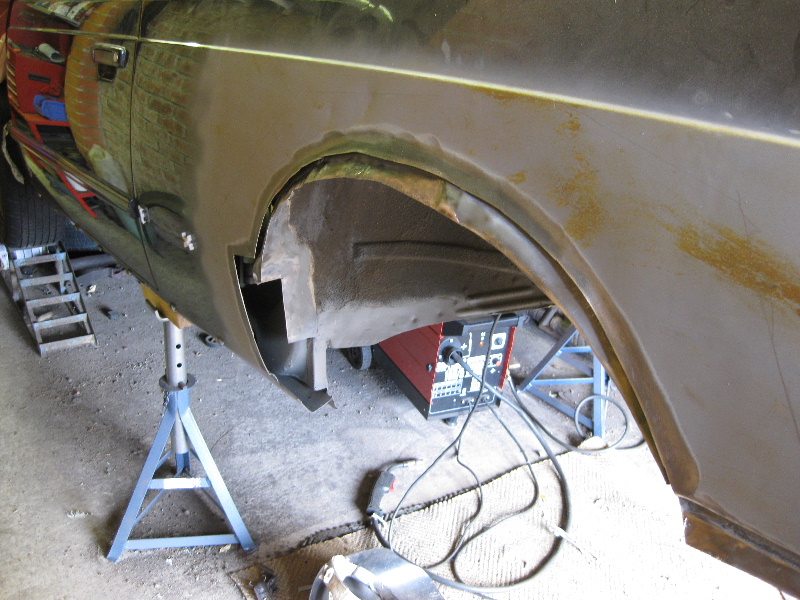
First job is to cut out the old arch to see where we are, I always try to cut out as little as possible and join it over the arch lip, as it is easier to blend in afterwards, and should mean it takes less filler. |
 |
 |
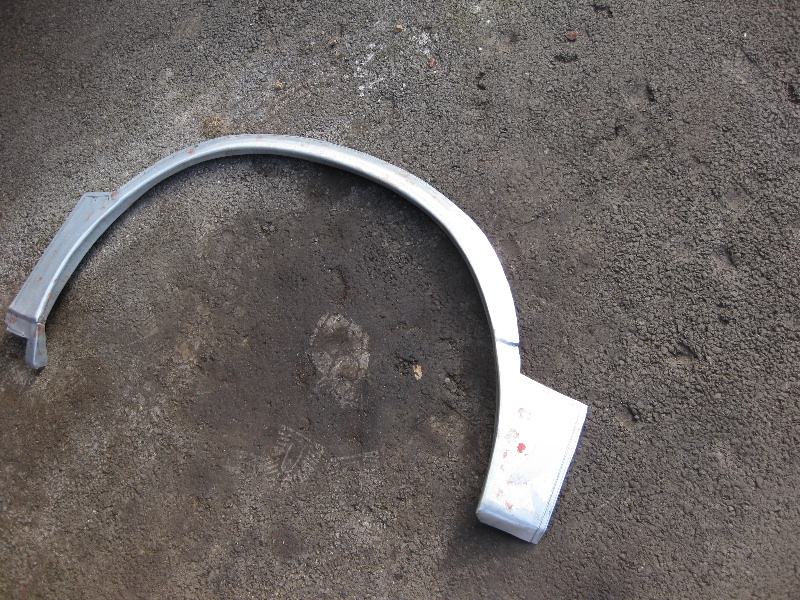
This is the repair panel, suitably trimmed to size, these are the Walloth and Nesch Panels, and I have to say that they are not very good, the shape is not quite right and the edges and creases are not well defined. But they are better than nothing, and it is nothing that a skim of filler should not fix, but I estimate that it took a good 2 hours longer than necessary to ease and tease these into a suitable shape. |
 |
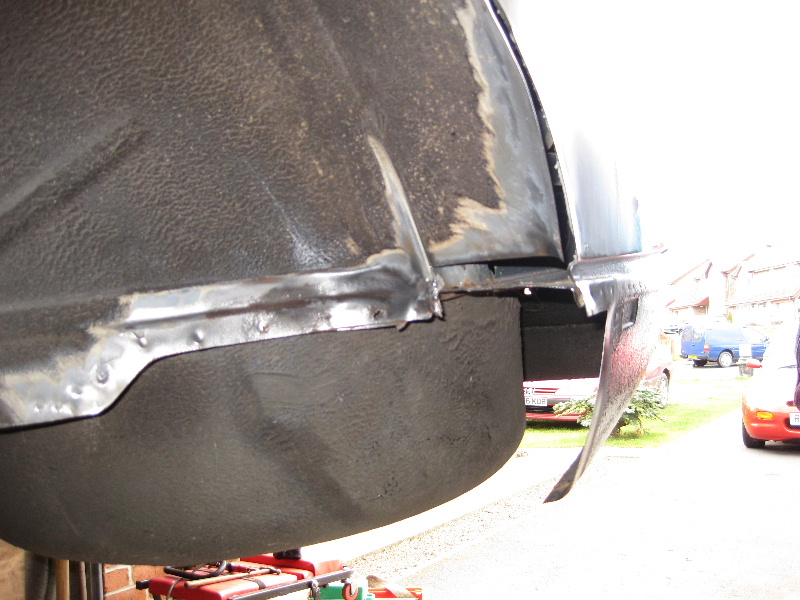
All edges are joddled, for a smoother repair |
 |
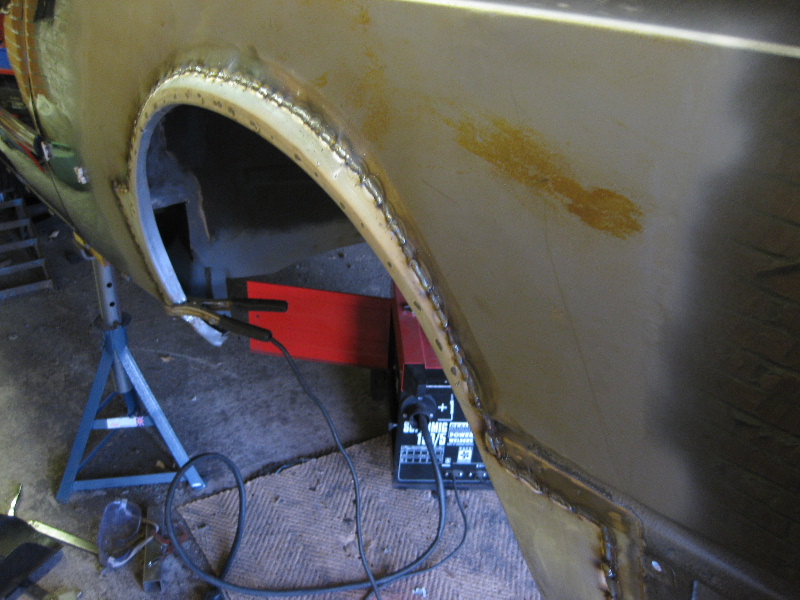
Arch tacked in, you must take great care at this stage to ensure that everything is lined up and correct, it is no good starting at one end and hoping it will be right by the time you get to the other end |
 |
Now fully welded, I stitch weld only a small section at a time, moving from one area to the other, this helps to minimize the heat in the panel and helps to reduce distortion |
 |
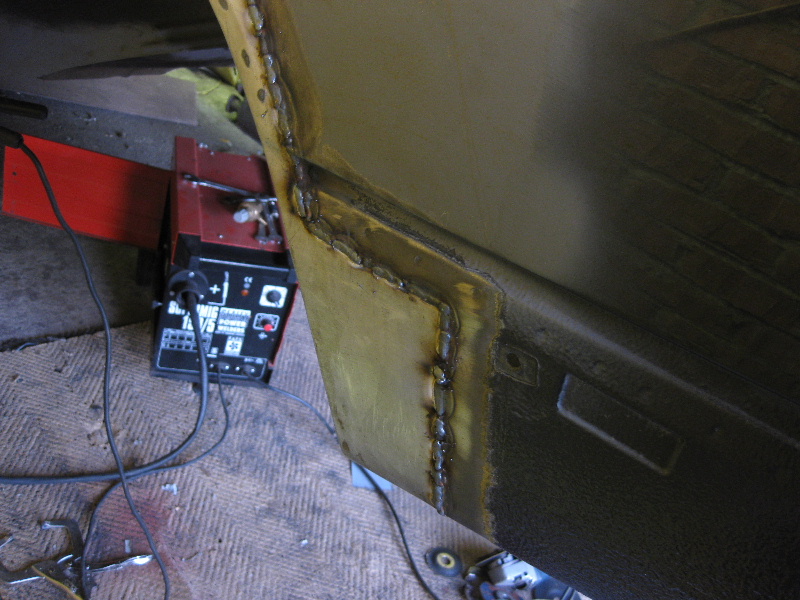 |
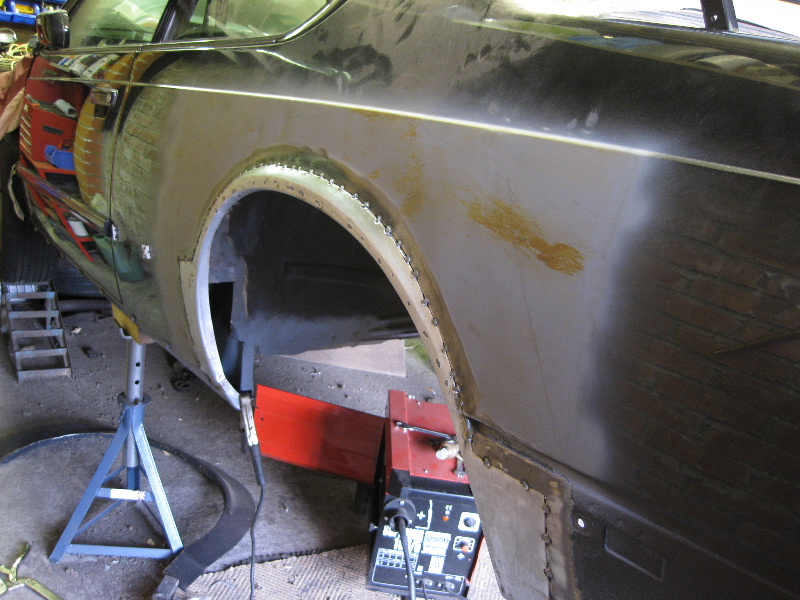
Now grinding smooth, first using a grinding discs to take the head off the weld, and then a flap disc to finish off, again, you have to be careful not to concentrate too much on one area at one time, as you can still build up a lot of heat when grinding, and this can cause distortion problems for later |
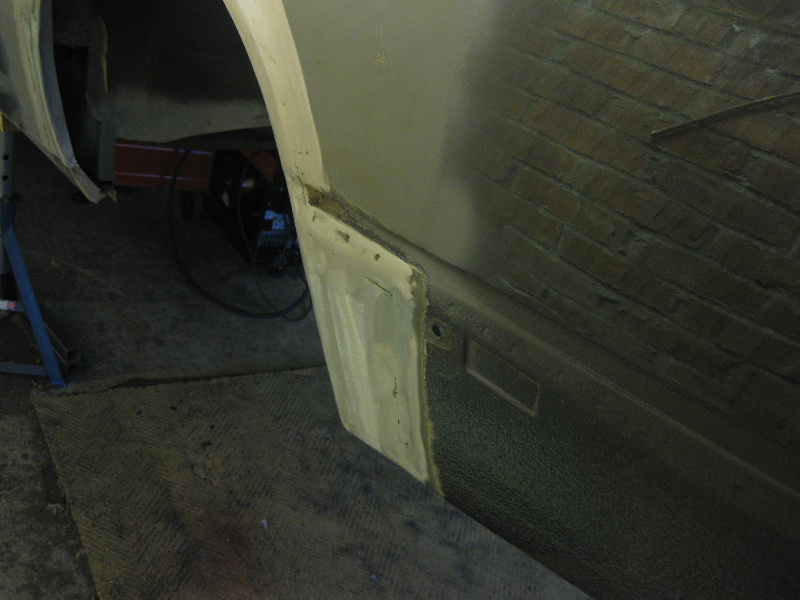 |
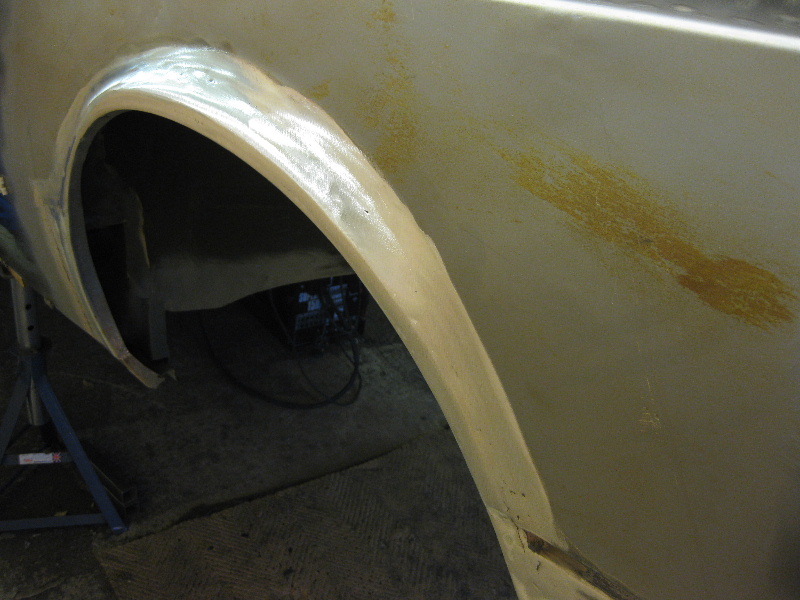
The finished arch, just needs a good DA sanding and a light skim with filler, and that should be it for now. |
 |
Still some small repairs needed to the inner arch to close it all off, but that will have to wait until next time |
| Back to Page 1 |