 |
 |
 |
|||||||||||||
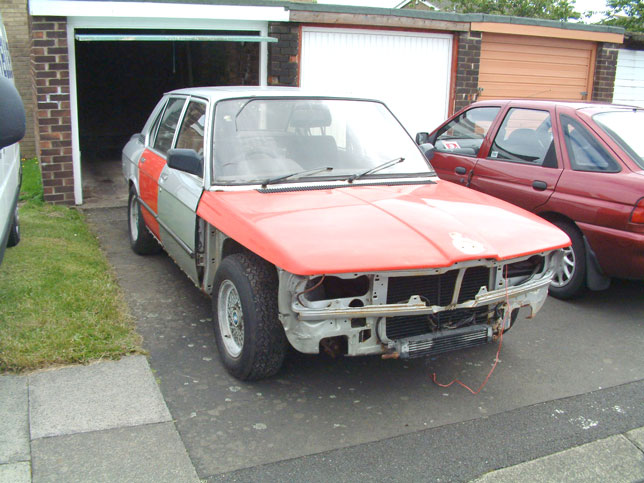
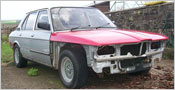
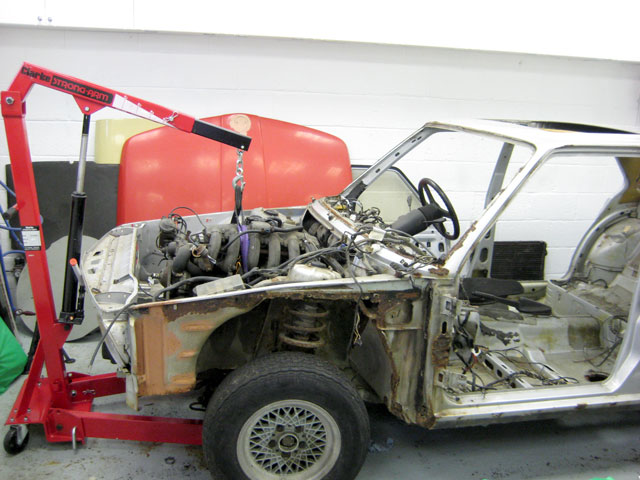
Just thought I would let you know that I went to my friends garage today to see Project M, to see if I could get her engine running, as I have set the wheels in motion to collect her next weekend and bring her home for the strip down and restoration to begin. |
|
| 28th June 2008 |
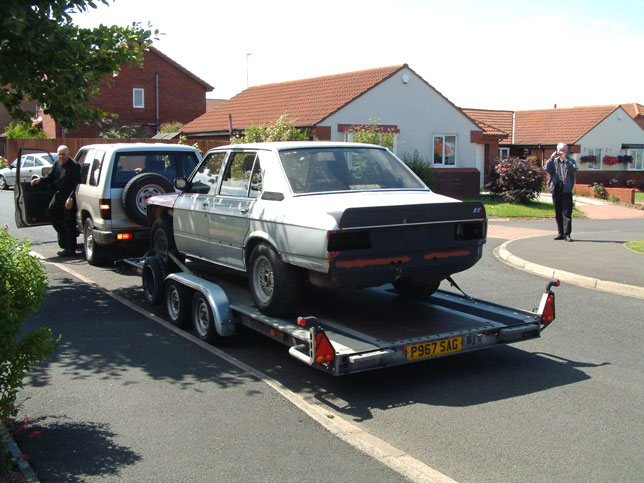
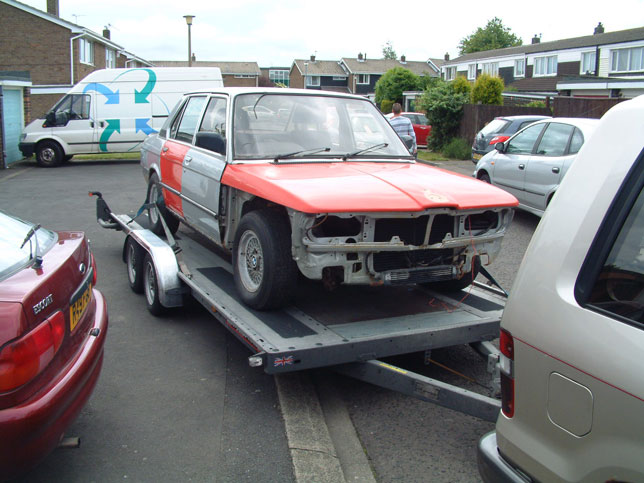
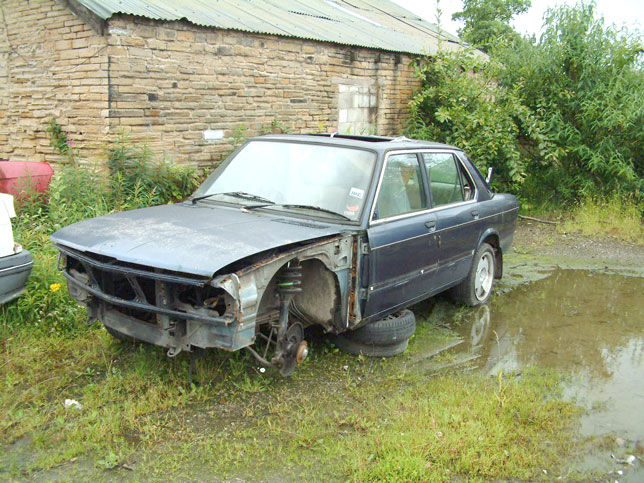
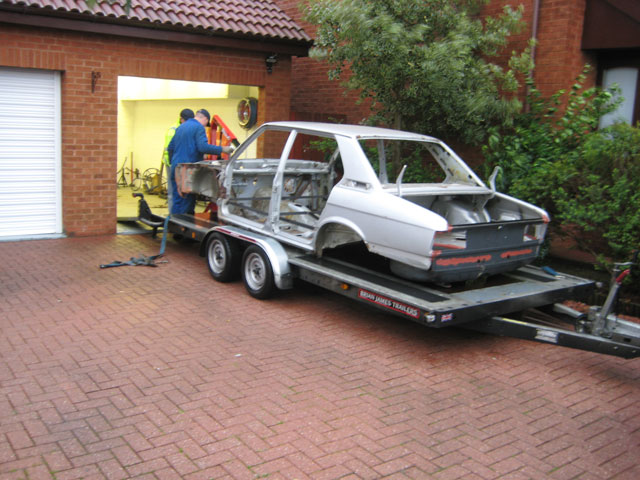
Went to collect Project M today, everything went well, and she is now home, was helped by friends, Norman and Neil, and also a special visit from Ronald Aker who was on Holiday in the UK from Holland. |
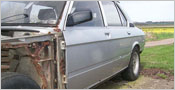
This has been her home for the last 2 years |
|
Loaded and ready to go |
 |
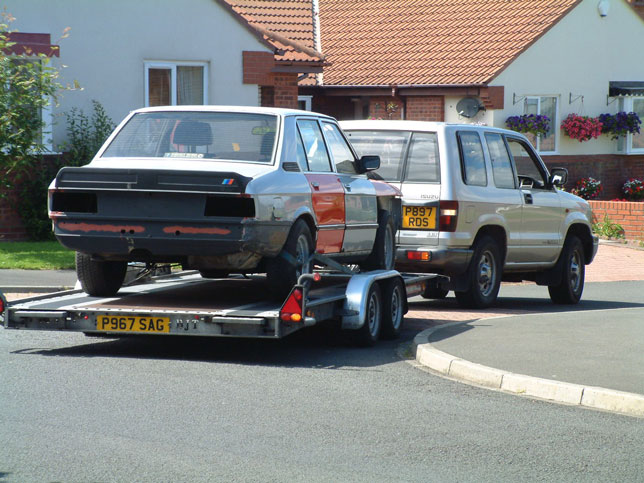 |
Arrival at Home |
|
|
|
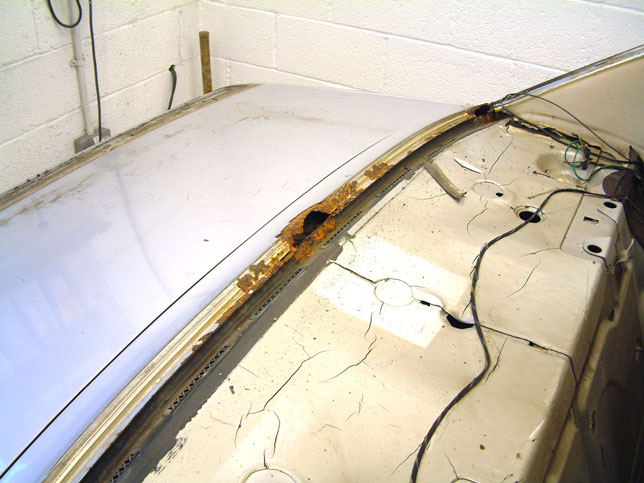
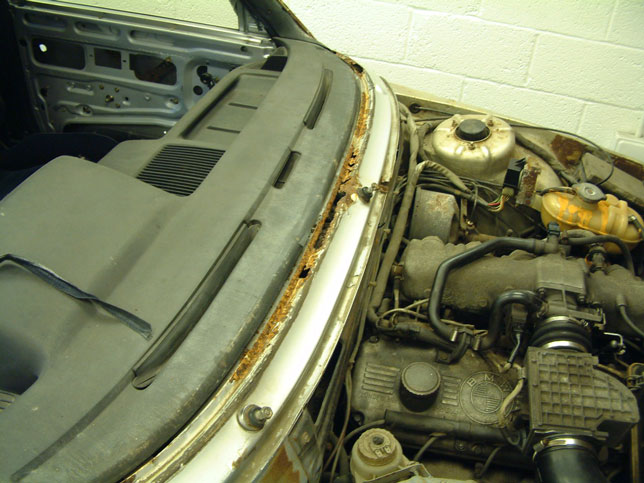
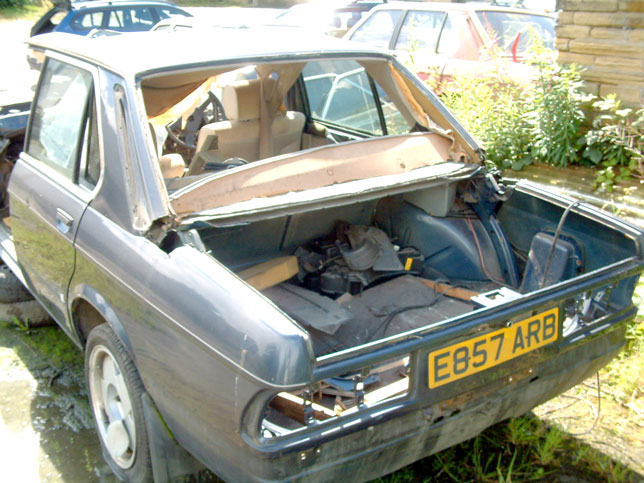
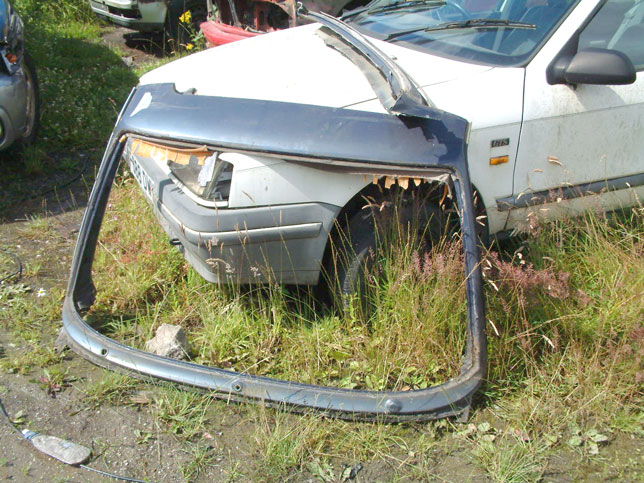
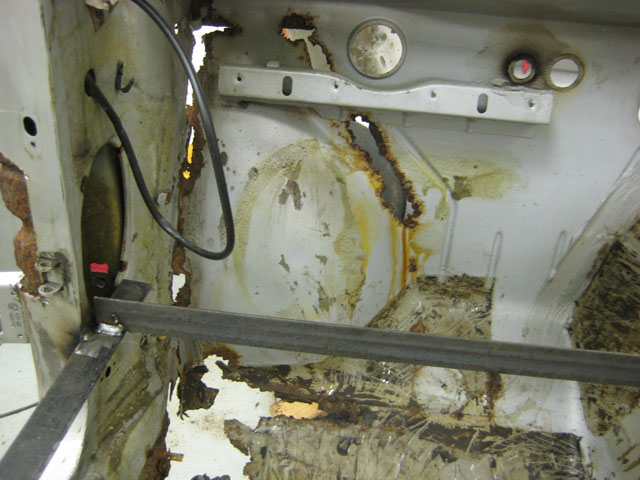
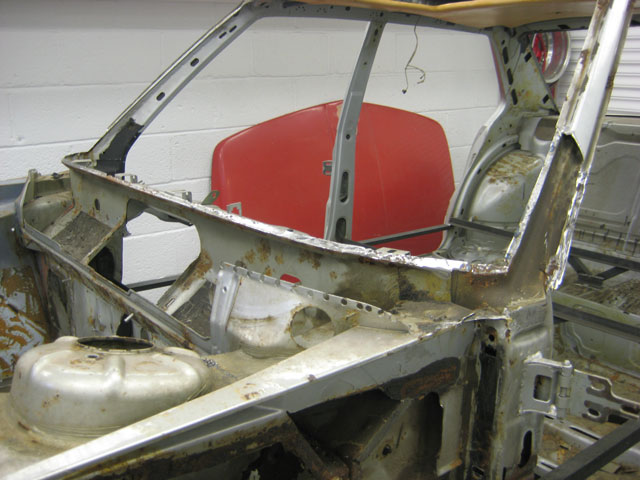
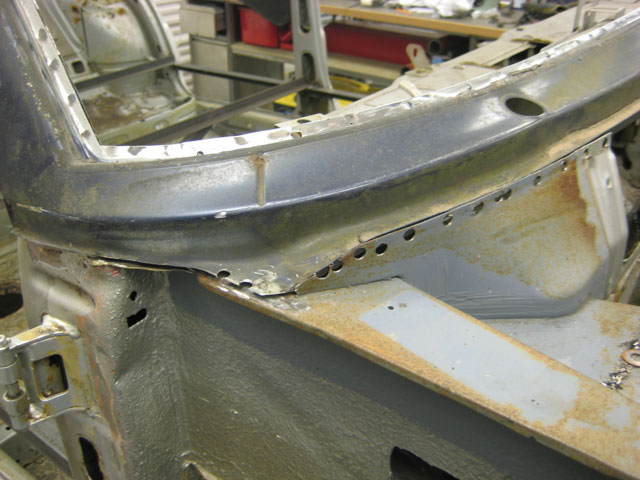
Front screen out shows some very bad rust, I will need to try to find a replacement panel for this area |
 |
Rear screen is similar but not as bad, should be able to patch this |
|
|
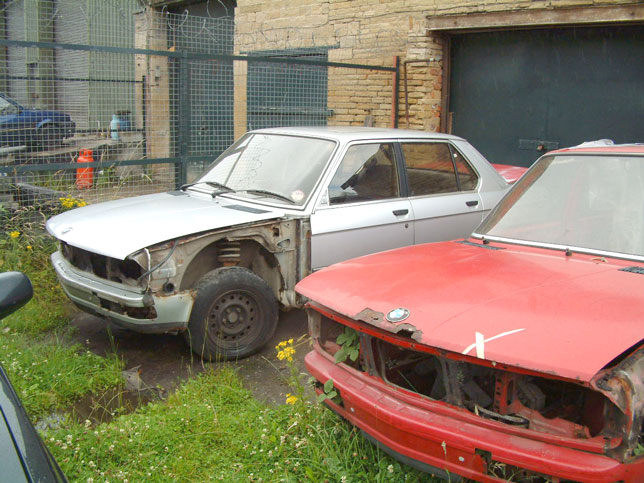
After taking the screens out and discovering the rot that was lurking underneath I set about trying to find some replacement parts. Surprisingly enough BMW still make the parts needed, Part Numbers 41321848261 Front Screen surround and Part Number 41321881522 rear screen base. But I thought that a better and cheaper option may be to check out some E28's, I made a template from paper of the E12 and then compared it to an E28, they looked very similar, Fortunately I had been in contact with a guy from Ebay called Bob from Yorkshire, who was breaking some E28's, One had an immaculate Blue carpet, the other may be suitable for the screen parts, I loaded up all my cutting gear and headed down there. |
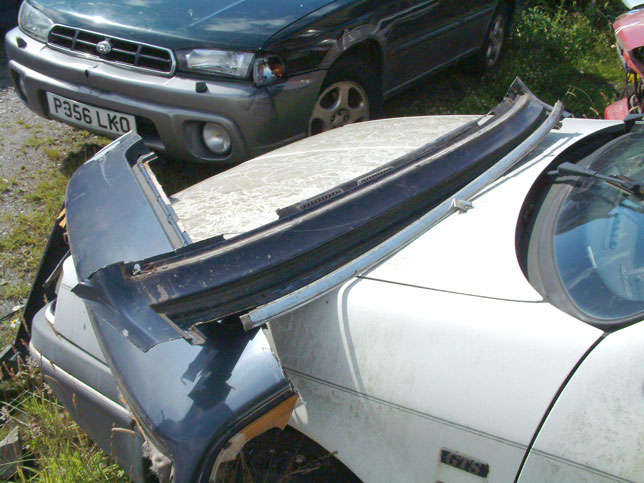
Another E28 about to Sacrifice itself |
 |
The Silver one donated its carpet set |
 |
After about an hours work, the screen surround was out |
 |
It was then onto the rear |
 |
The surrounds certainly look very very similar to the E12, but I will not know for sure until they are trimmed and tried on |
 |
 |
|
 |
 |
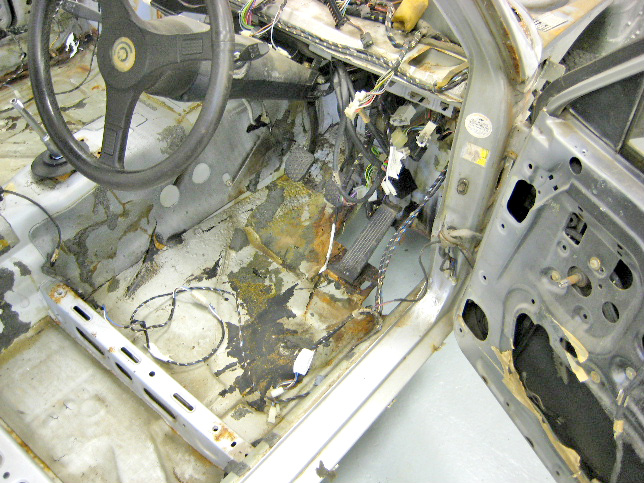
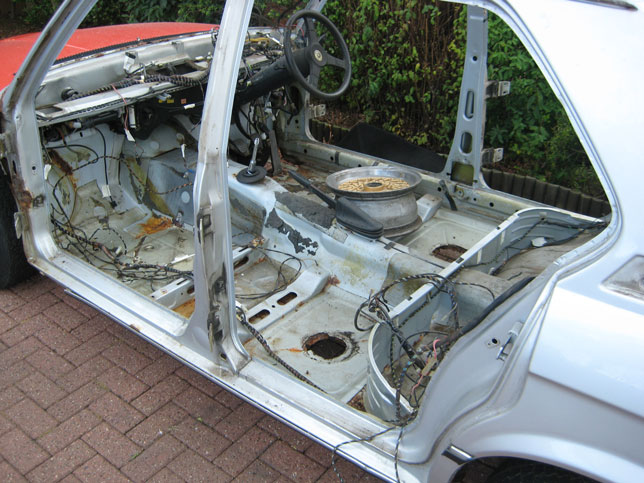
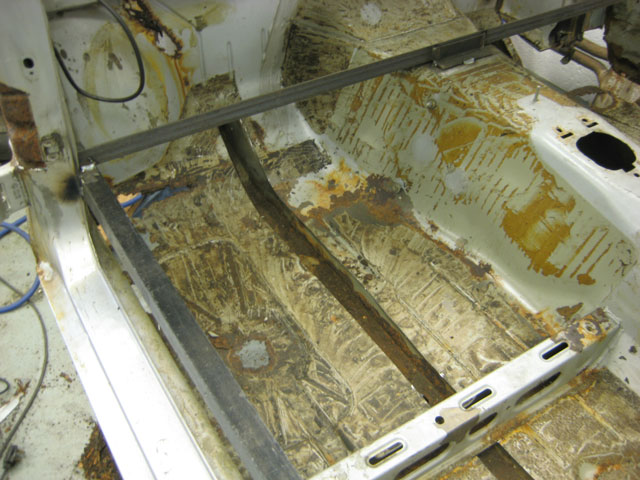
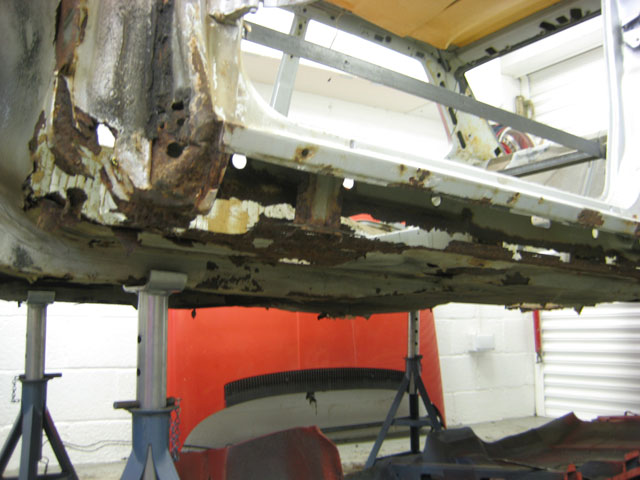
Drivers side floor is rotten, but I knew that when I repaired that side inner wing last time |
 |
Rear floor bungs are rotten, and collapsed when I stood on them |
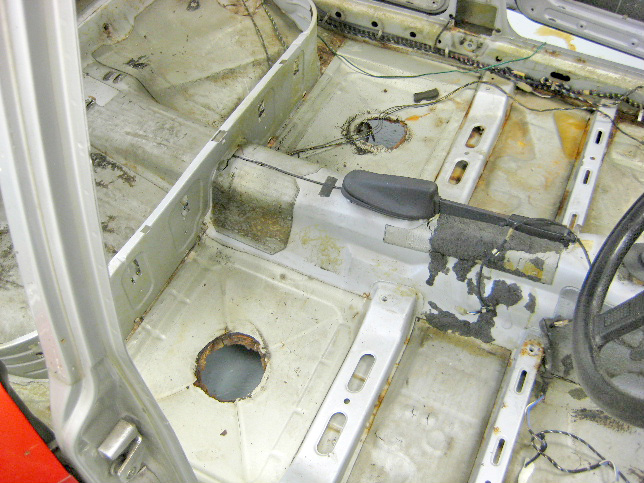 |
Surprisingly enough, despite the severe rot to the windscreen surround metalwork, there is no other rust below this area, I can only assume from this that the paintwork has been damaged when a new windscreen has been put in, and not by water getting in past the seal. |
 |
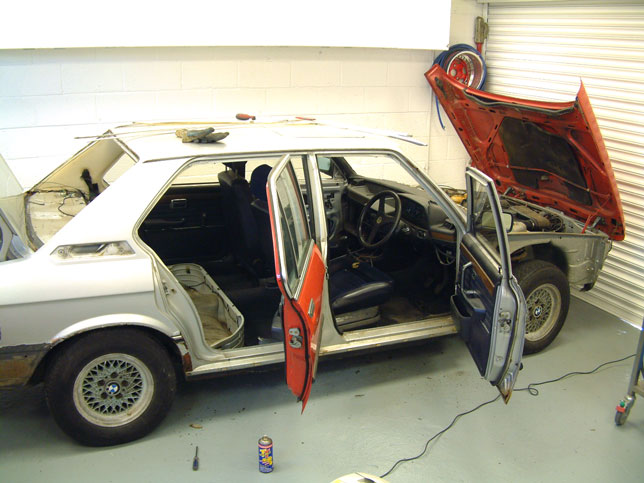
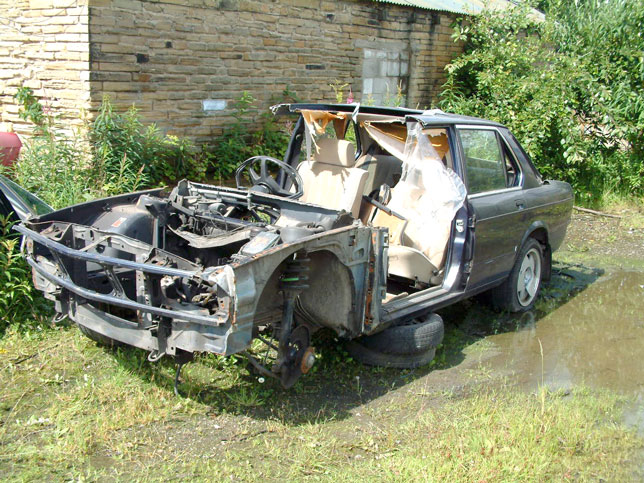
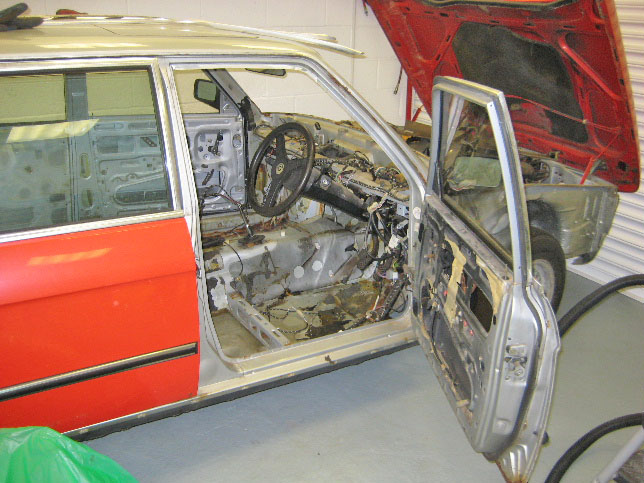
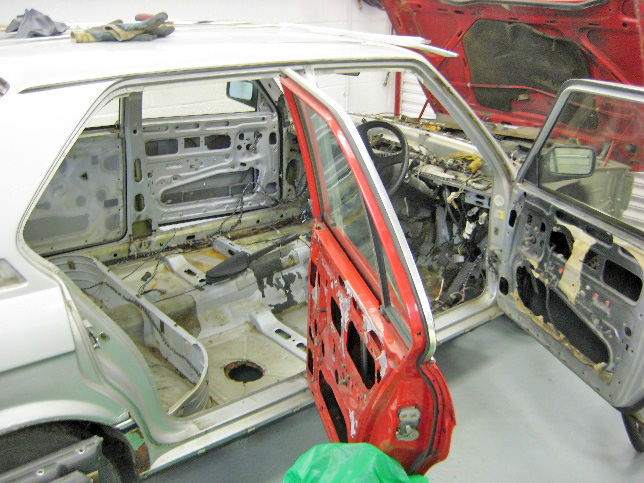
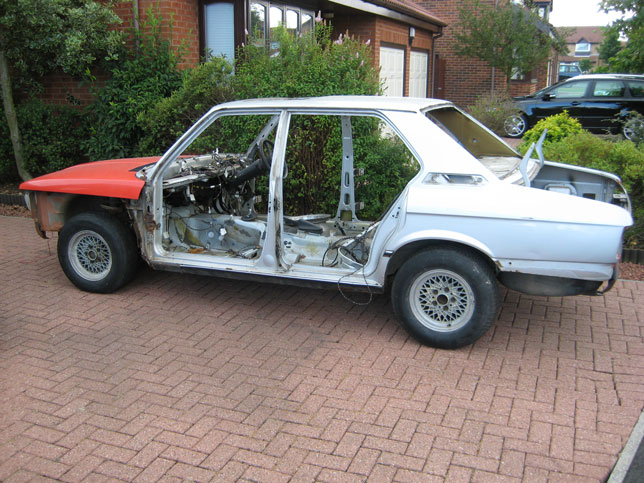
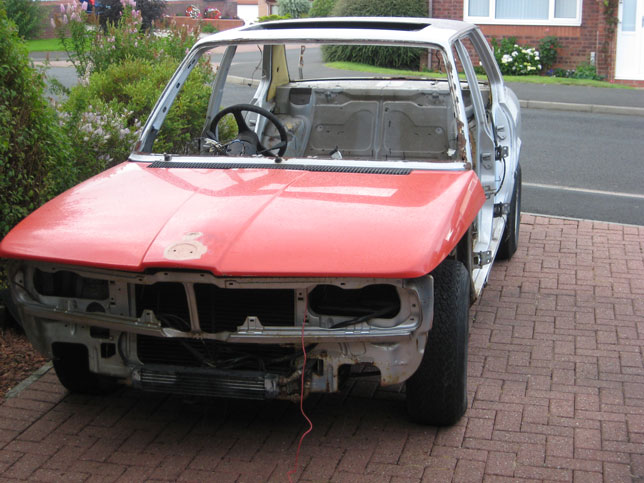
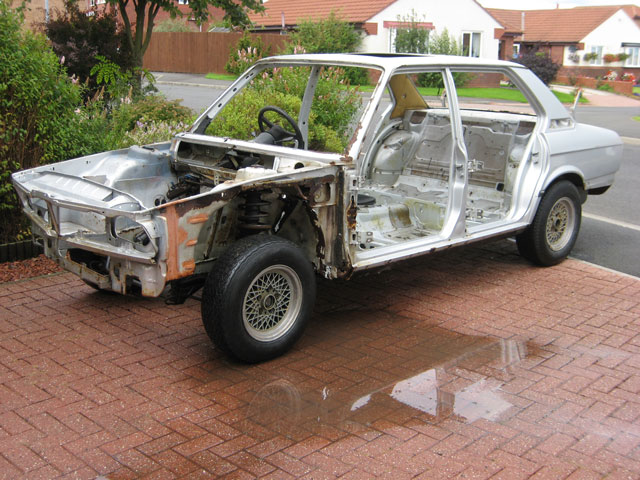
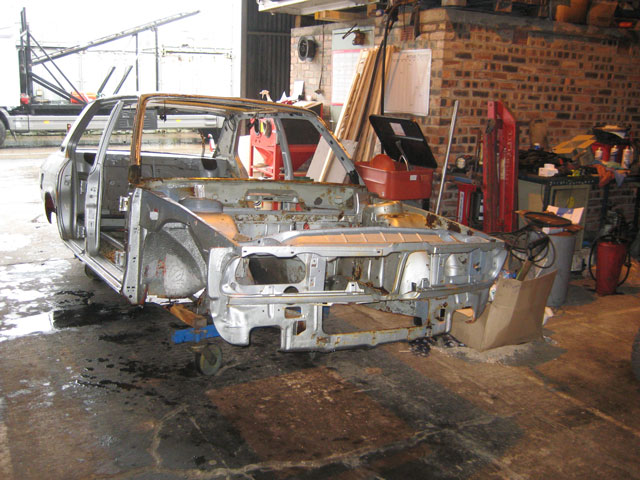
Further strip down, driven out of garage to turn it round, so that I can start removing the engine. The car does not look to bad in these shots, but you cant see that the sills and floor are rotten underneath. |
 |
 |
Alloy Wheel as makeshift driving seat |
 |
 |
 |
 |
 |
All looks as it should do in here |
 |
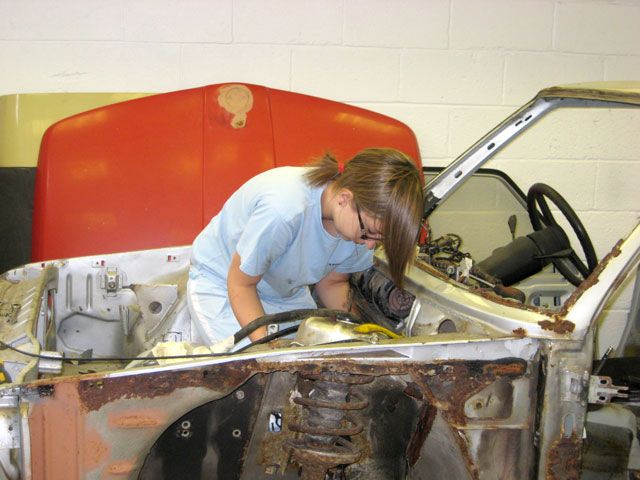
My Daughter helping out, "Now remember Nicole" "Lefty Loosey, Righty Tighty" |
 |
| After all the bits had been taken off, it was pushed outside and jet washed, to try to clean off some of the years of dirt and grime, now just the running gear to take off |
 |
|
 |
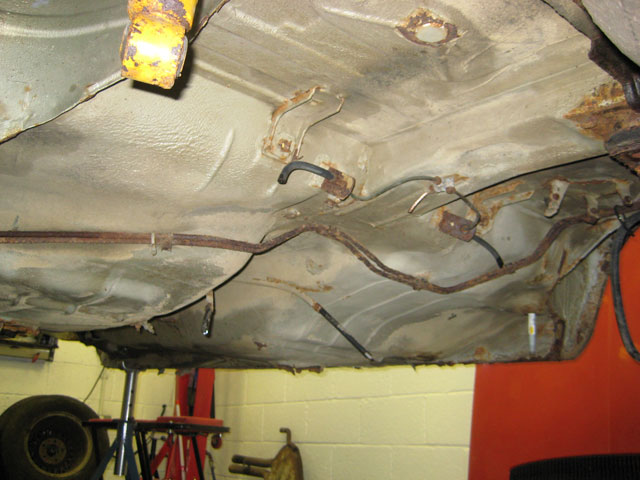
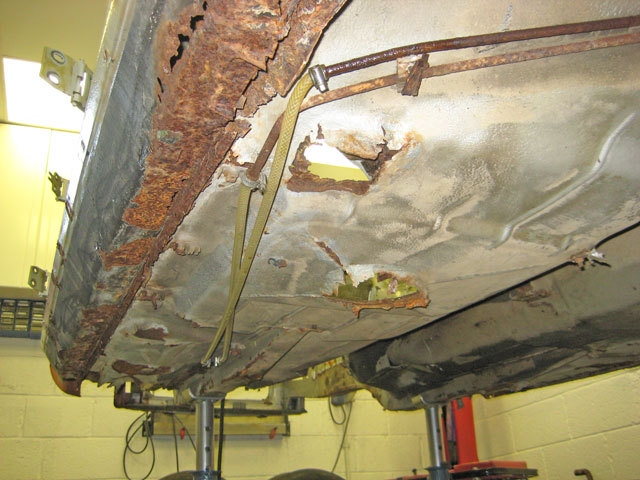
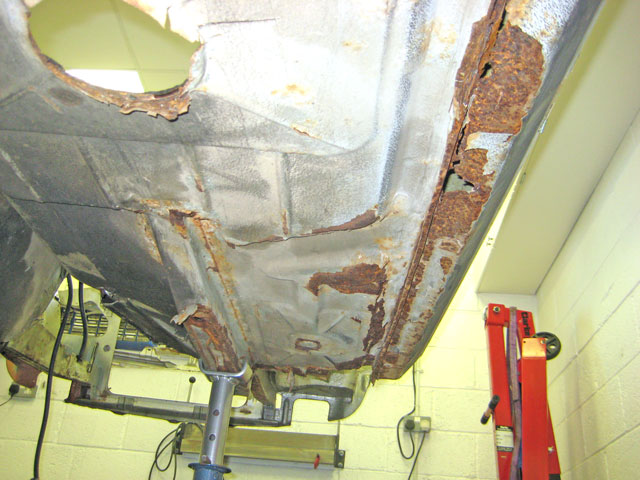
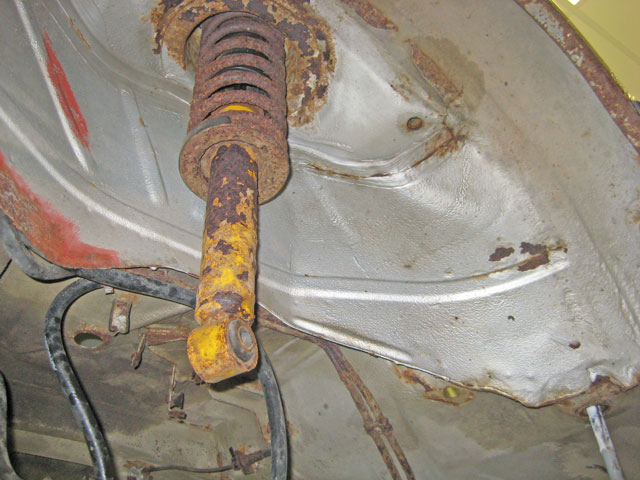
Some shots from underneath to show the extent of the rust in the lower half of the car |
 |
 |
 |
 |
 |
 |
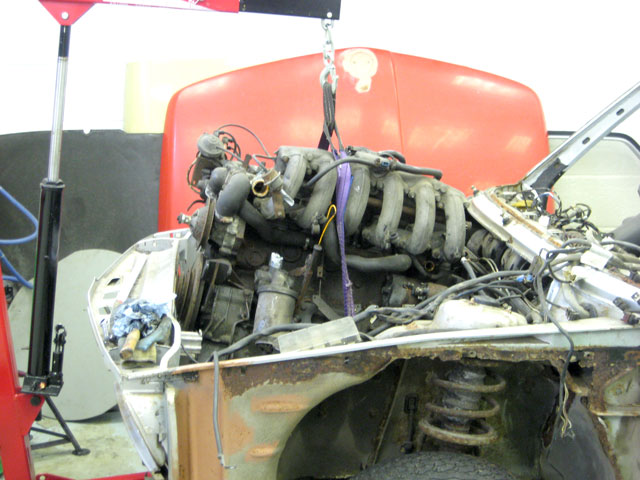
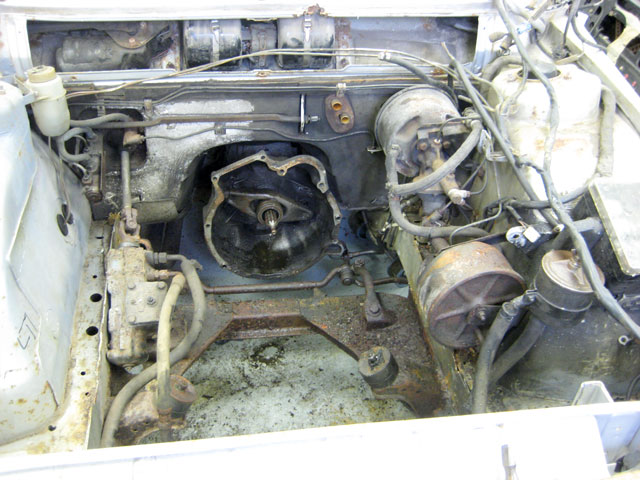
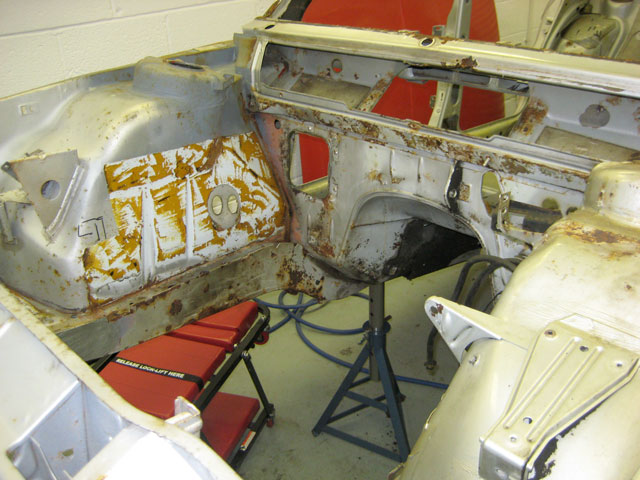
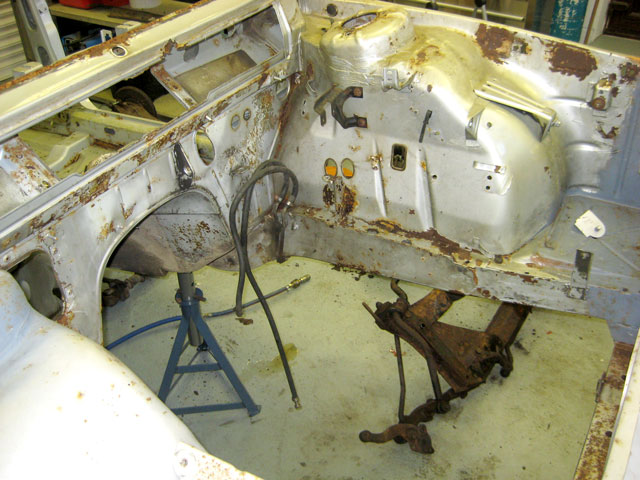
Engine bay now fully stripped |
 |
 |
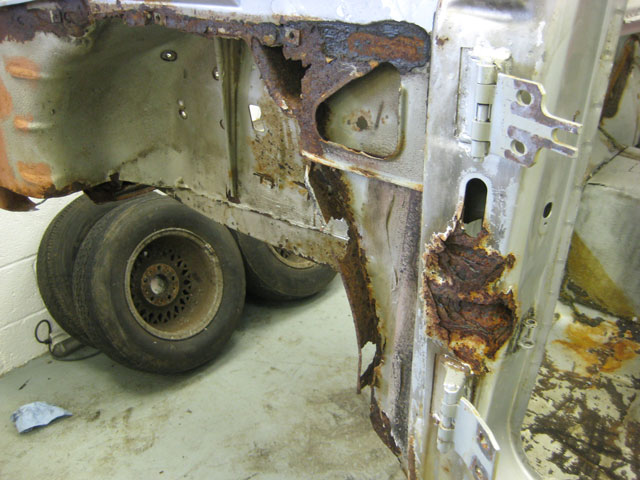
This is the inner wing that is to be replaced, it would definitely be difficult to patch this satisfactorily |
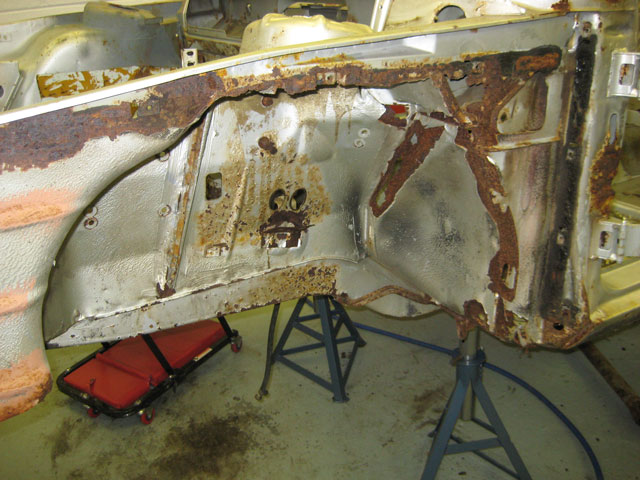 |
The door pillar also has some severe rust, wish I had cut a section out of that E28 last month, to help with the repair |
 |
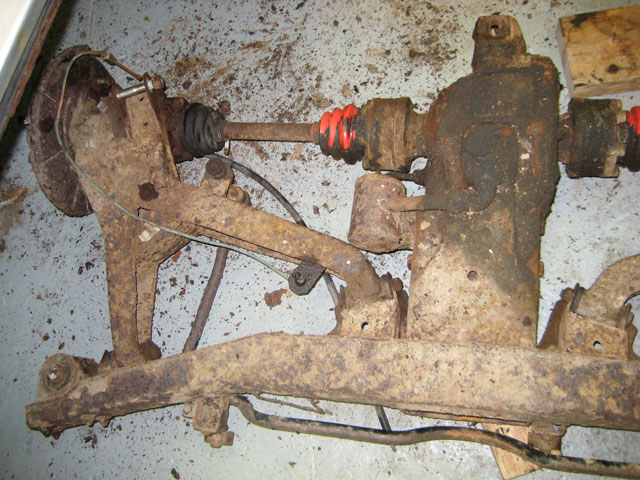
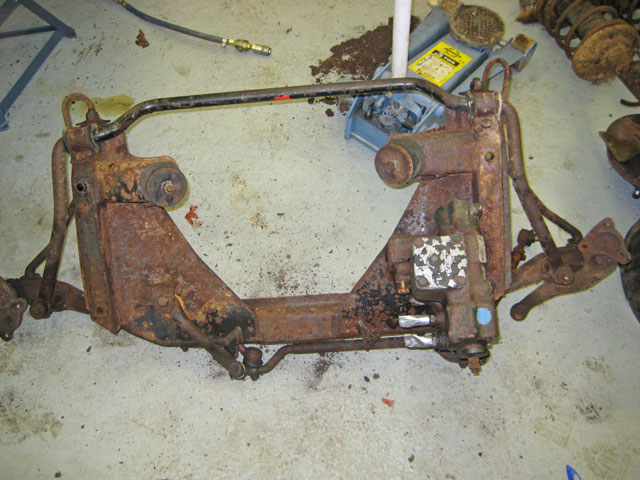
Very Rusty front and rear axles, they will eventually be shot blasted and painted prior to refitting |
 |
 |
| There are just a few more bits at the rear to remove, including the fuel tank, and that should be it. I am currently in discussion with a local shot blaster, to try to get the underside and inner wings etc shot blast prior to starting the repairs, this should hopefully make the job a lot more pleasant and more thorough. |
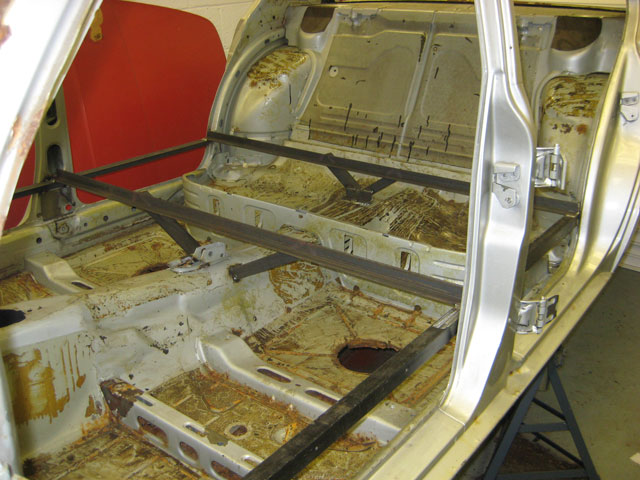
I have been very busy stripping the last pieces from the car, and it is now away to the shotblasters, once I had stripped the sound deadening pads from the floor, it became very apparent that there was very little holding the floor and sills together, and because the car was going to be transported and shotblast, I thought that it might be wise to add some additional bracing to the car to help it keep its shape. |
 |
 |
 |
 |
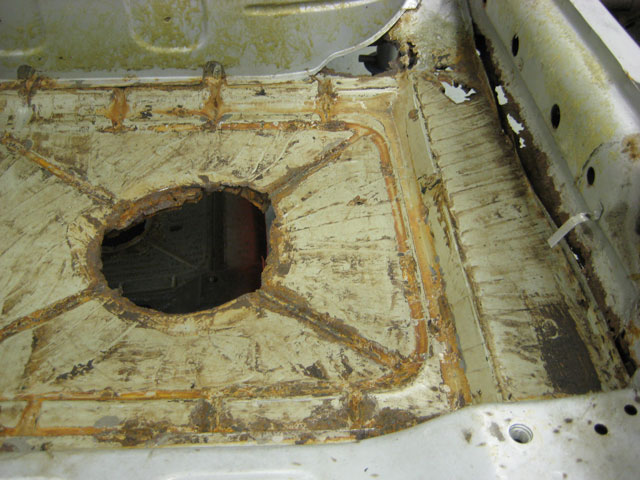
I hope to save the original chassis legs, so thought that it might be a good idea to cut out the section of floor above the legs so that the shotblaster can then blast the inside of the chassis legs as well, as I intend to replace the floors with the ones from that E28, which incidentally are exactly the same in every detail, then this would be a worthwhile job |
 |
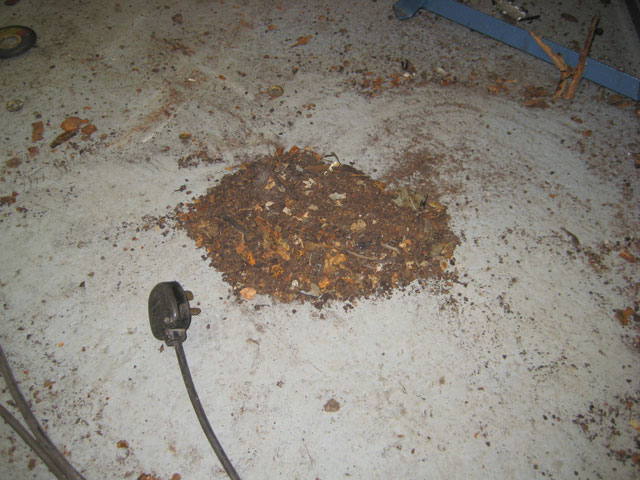
and boy am I glad I did, in each leg was a large old and rotten mouse nest, pile of rust and mouse droppings, they must have got in when the car was stored at my dads, they could enter the leg from the front panel, where the notches are for the bumper brackets, this is the pile from just one chassis leg. |
 |
I also thought that it may be worthwhile cutting off the outer sills at this point also, so that the shotblaster could thoroughly blast the inside and outside of the inner sills. |
 |
And again, thought it might help to remove that section of rotten screen surround, so that it can be thoroughly blasted inside and out. |
 |
This also gave me the opportunity to try that section of E28 windscreen surround that I had cut off last month, apart from 2 brackets and 2 fixings that are extra to the E28, the shape and fit is exactly the same |
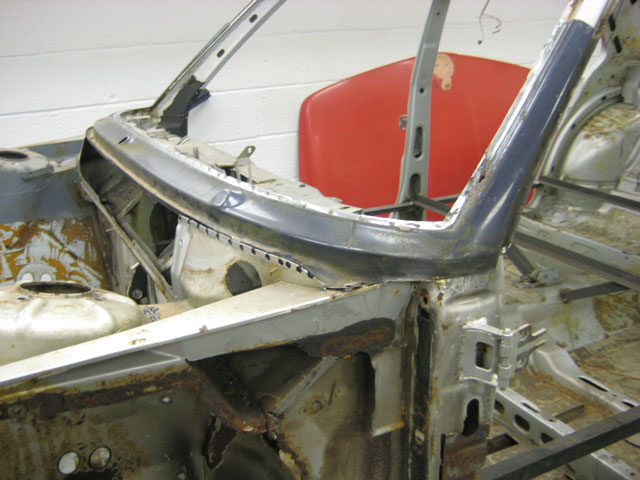 |
I thought that because the E28 wings fit up to the screen surround that this area might be slightly different and need modification, but as you can see, it fits perfectly. |
 |
The car being loaded onto the trailer for delivery to the shotblasters, helped again by Neil and Norman. For anyone considering a similar thing I can advise that 3 people can easily lift the shell, even without the use of an engine crane as we did. Infact if you were really pushed I think 2 strong people might be able to manage. |
 |
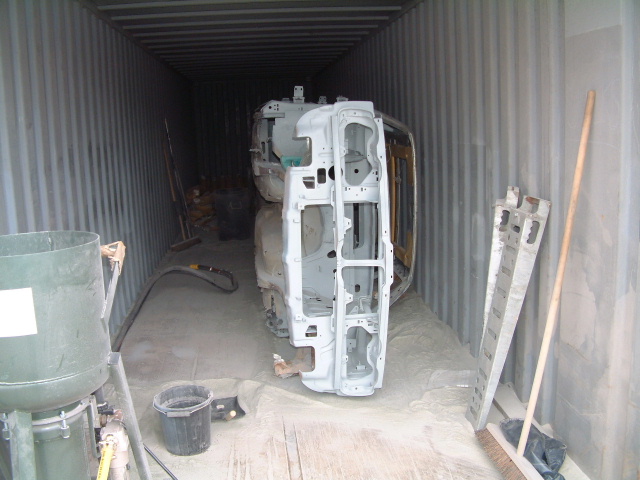
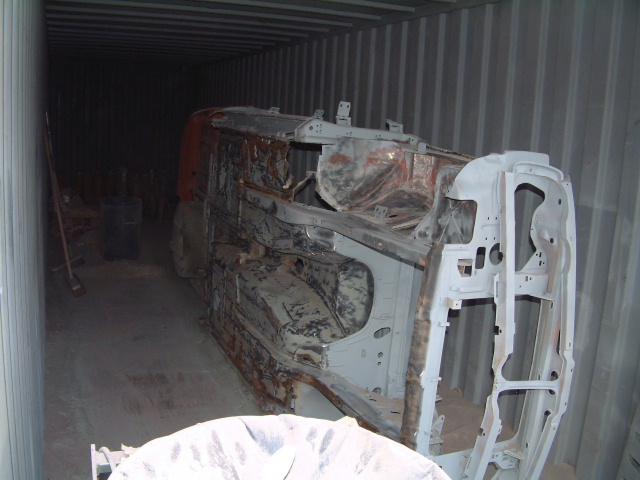
The car arrived safely at the shotblasters and loaded onto a wheeled trolley, this was the day of the torrential rain and by the time we got the car there it was soaking wet, at least all the rust holes will help the water drain out. Steven the shotblaster says that he wont be able to blast it until it is fully dry, so he hopes to make a start next weekend. lets hope that there is still something left to take back home. |
 |
|
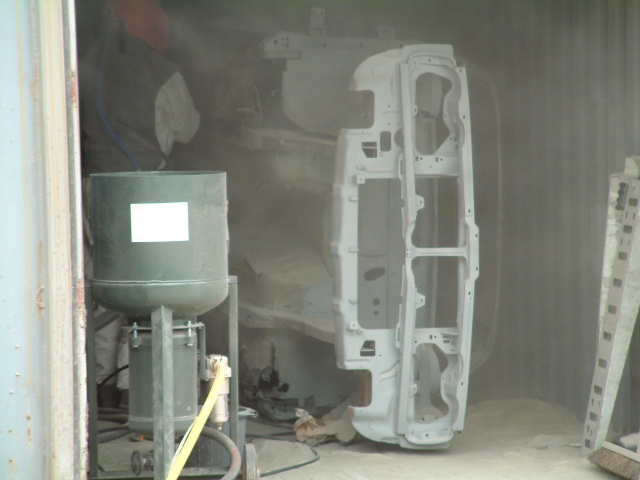
| The shotblaster has started on the car |
 |
The inside and engine bay have been done, just the underside to sort out now |
 |
As the floor pans are going to be replaced anyway, he has not blasted the entire floor area |
 |
 |
 |
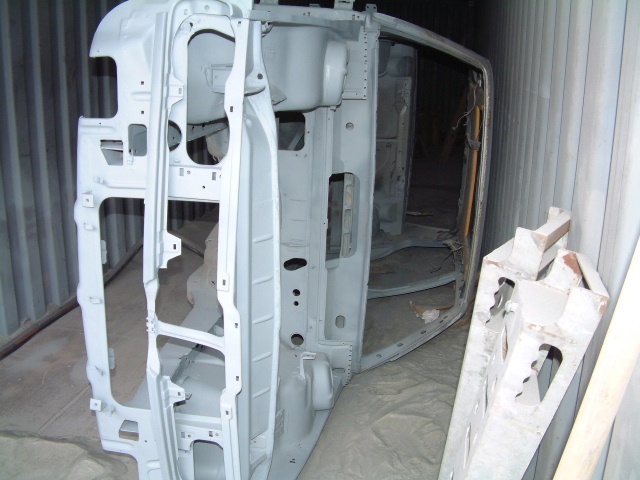
| The shotblaster is using a sand and glass bead mix, this is very fine and does a great job of stripping off the paint and rust without damaging the metal, unfortunately, it is really struggling to remove the underseal from the underside of the car, he is going to have to get a courser medium and try again later next week |
|
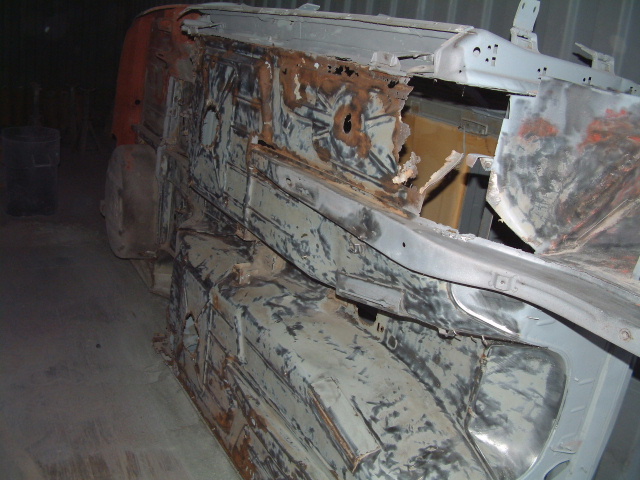
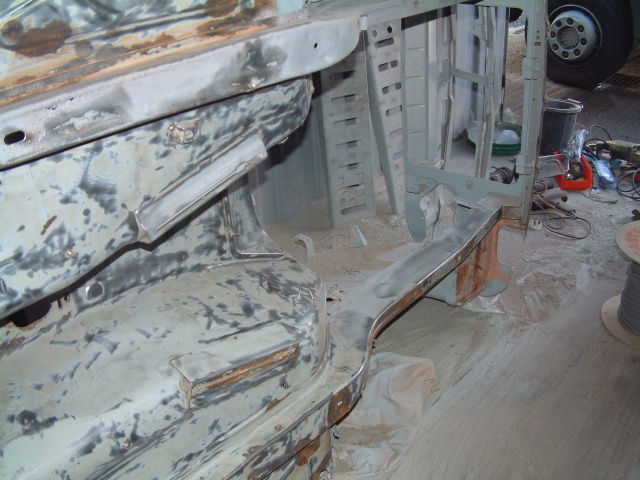
| The shotblaster reported back to me earlier in the week that he was still struggling to remove the underseal from the underside even with a coarser grit, so I decided to come down and see if I could strip some of the worst of it off with a wire brush in an angle grinder, and then hopefully he could finish it off with the grit blasting |
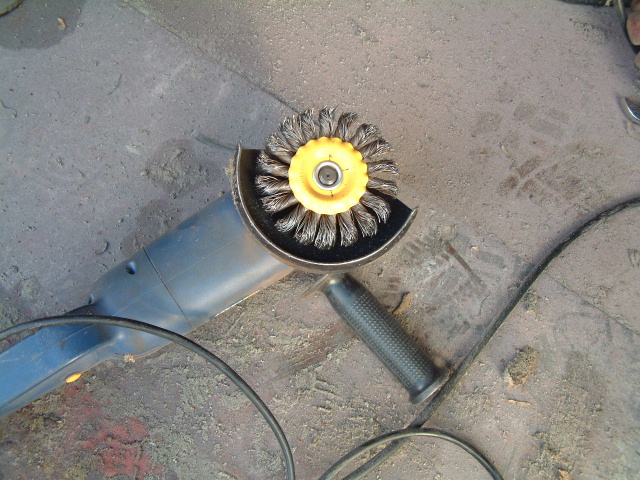
| This is the grinder and wire brush that I used, a straight forward 41/2" grinder and an inline type twisted knot wire brush, I also tried a cup type wire brush, but this caused a lot of vibration and was very tiring to use, the inline one was very smooth running and easy to use, and actually more effective, definitely my top tip for this month |
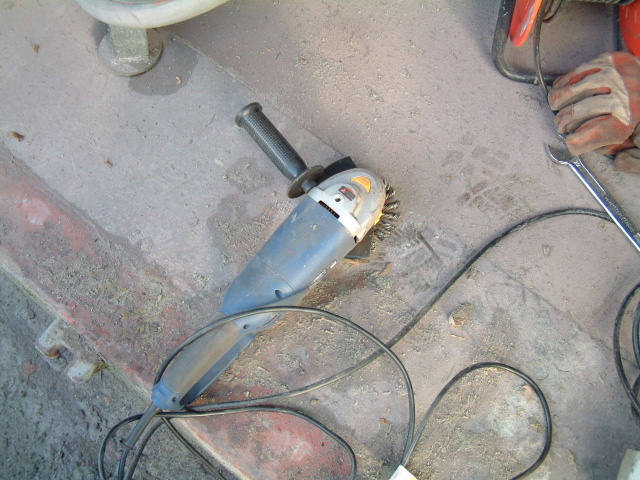 |
The side handle was definitely needed to stop it kicking as it bit into rusty patches and holes |
 |
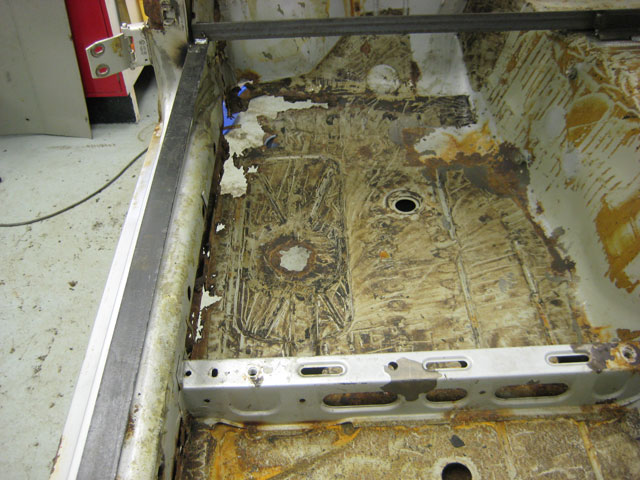
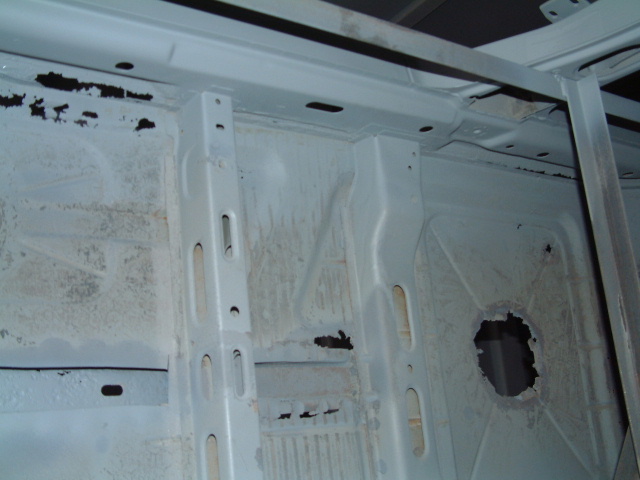
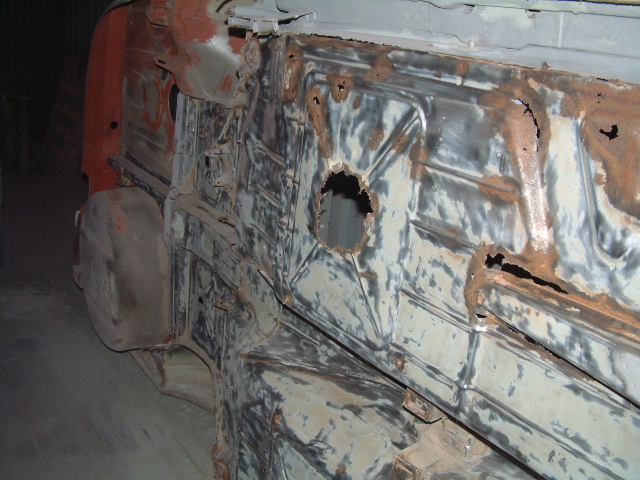
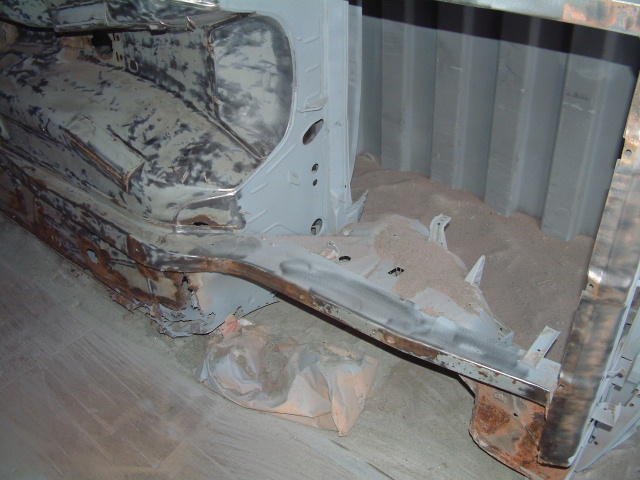
I have to say that I was unsure what to expect, but I was very pleased with the results, it took me only 4 hours of non stop work to strip the car to the extent shown in the photos below. |
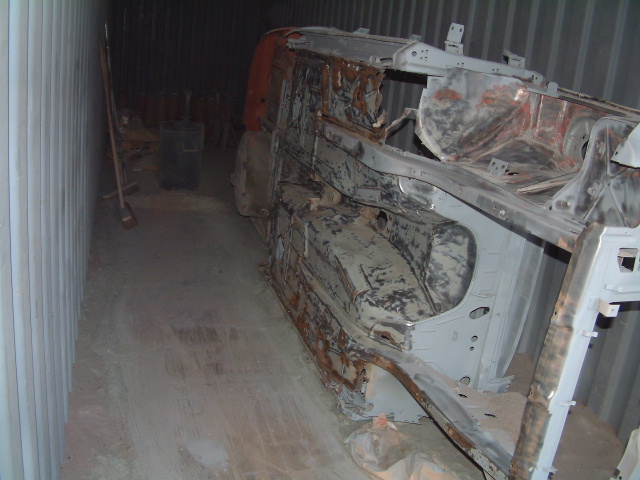 |
The whole process was made so much easier because the car was turned on its side, it would have been much harder work had I attempted to do this lying on my back under the car. The shotblaster had laid mounds of the sand down to rest the car on, but sand bags or even old tyres would do just as effective a job |
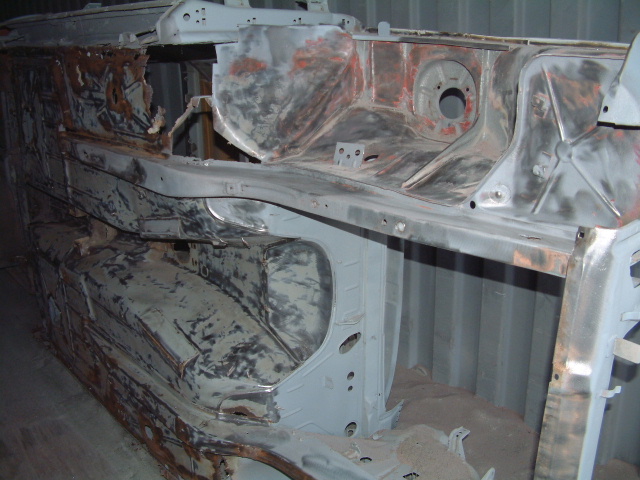 |
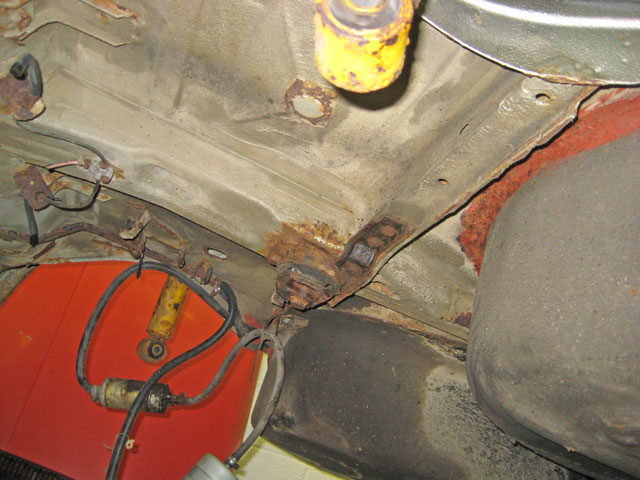
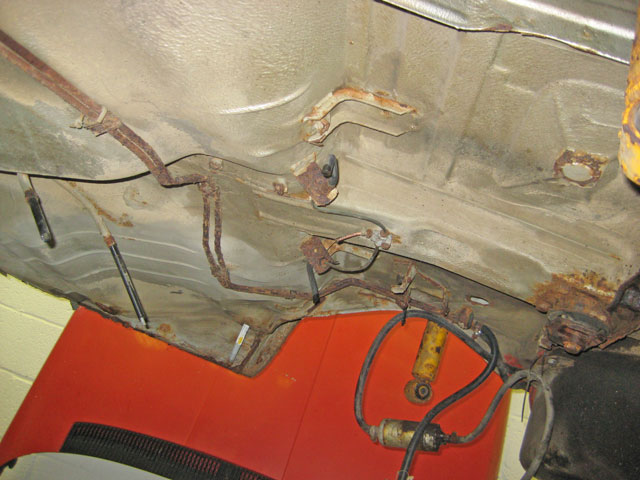
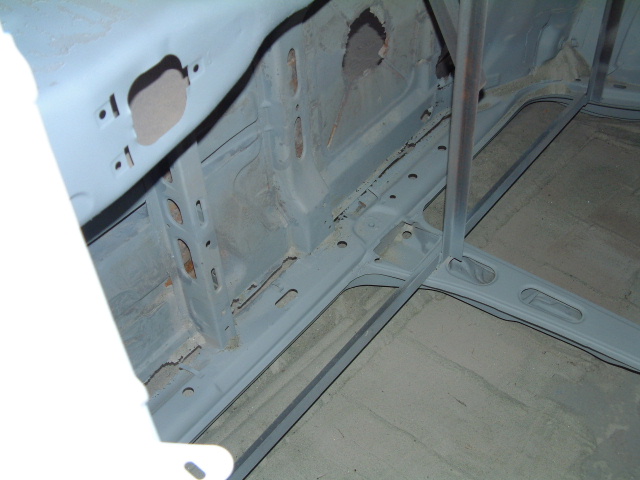
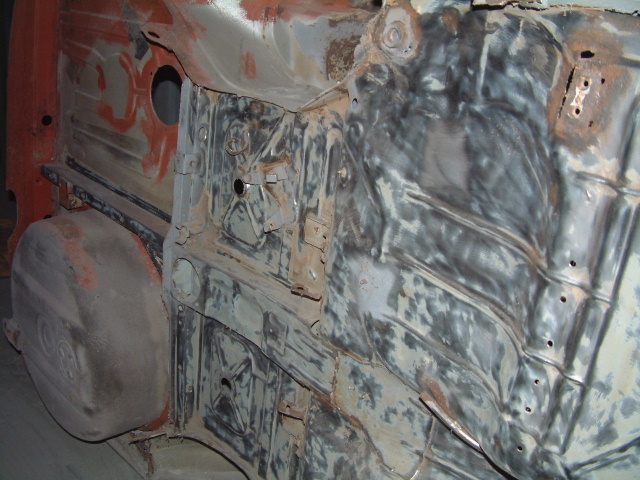
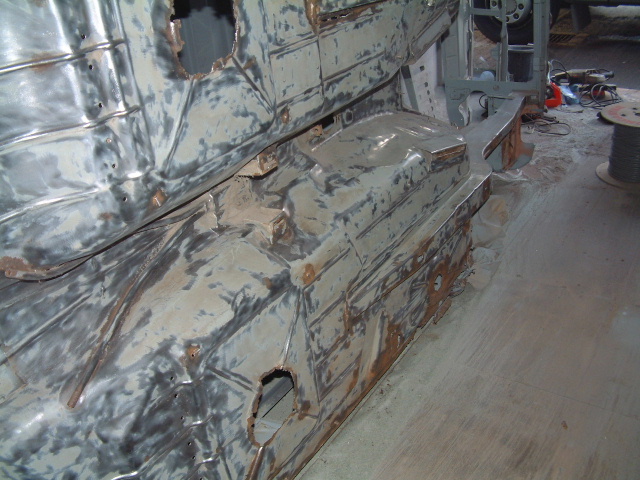
I was surprised to find no rust around the tunnel and the inner half of the floor pans, it only seems to be the outer halves that are affected, I had originally intended to replace the whole floor section, but may just do the outer sections now, I will wait to see how things progress. |
 |
 |
 |
 |
 |
 |
 |
 |
There were areas that I could not get into with the grinder, but hopefully the shotblaster can work on these areas until the coating is fully removed, I definitely feel like good progress is being made now. It does go to show what is achievable with just some basic tools and a bit of determination |
| Back to Index |