 |
 |
 |
|||||||||||||
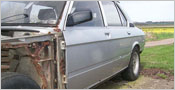
Project "M" Headlamp Restoration |
December 2007 I am kidding myself I know, but I thought even if I can't get on with the Shell restoration I could at least pick some other part and get on with that. This was also spurred on by the recent acquisition of a Clarke shot blast cabinet, and I was desperate to try it out on something. |
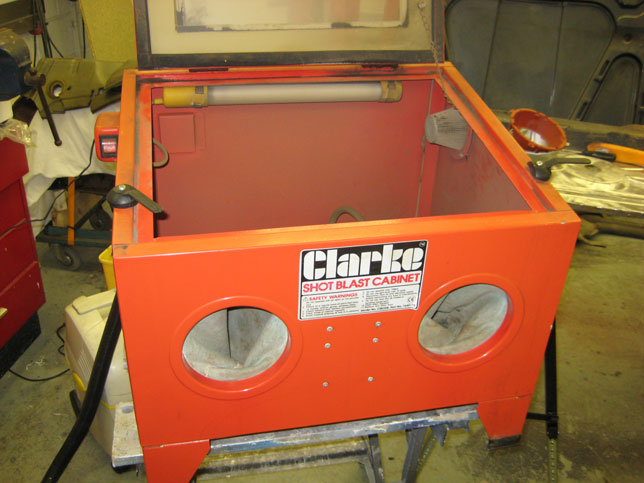
This is the cabinet, it is the base model one and was bought secondhand from Ebay, I had reservations about how effective they might be, but was pleasantly surprised, they do need a lot a air however, the literature states 10cfm at 100psi. I have a 2 compressor set up, both 3hp units, with both of these running it works just fine |
|
There is not loads of room inside, but Ok for this type of item, if things work out well, I may consider investing in a larger unit, but they do seem to be considerably more expensive, so we will just have to wait and see |
|
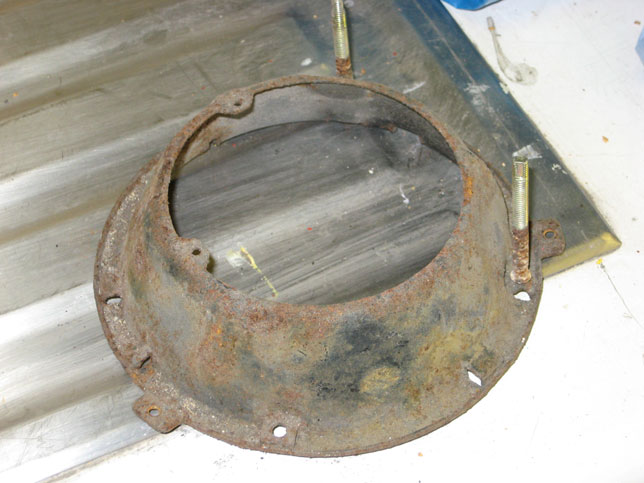
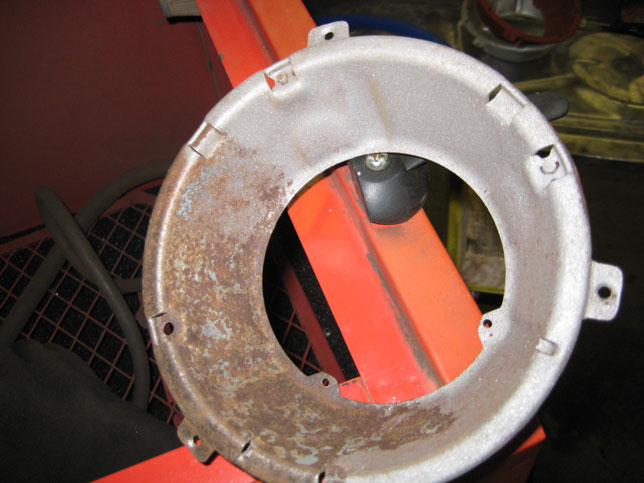
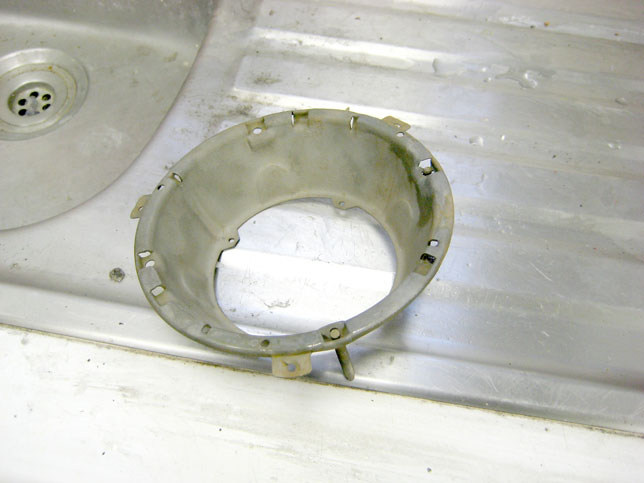
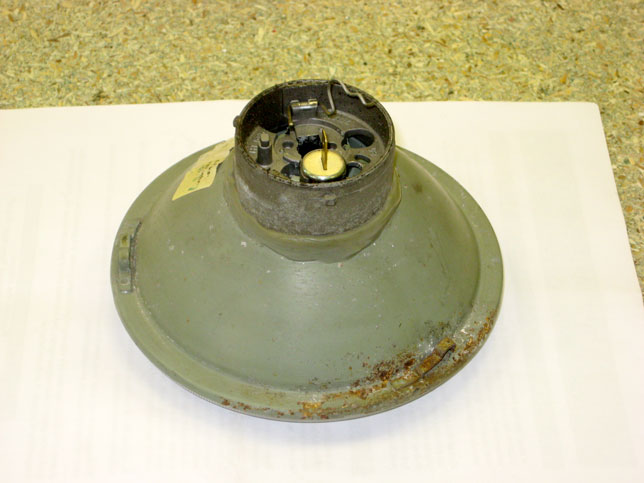
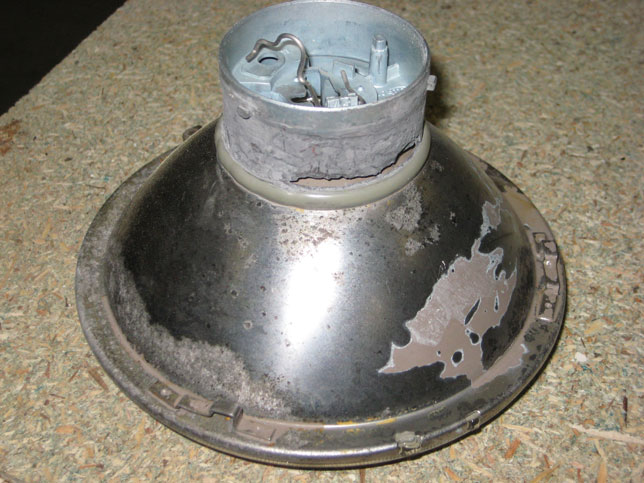
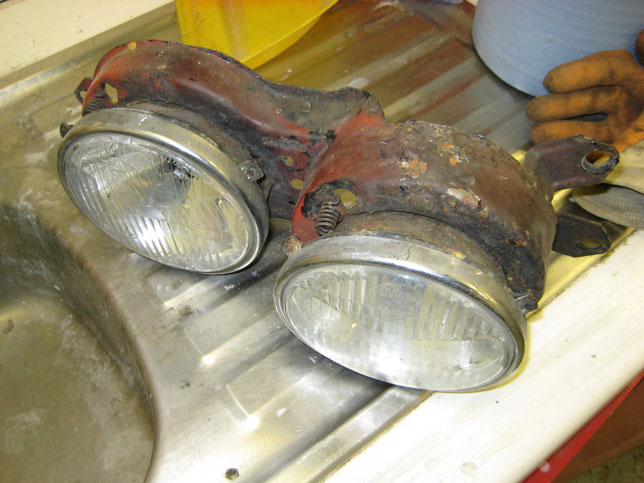
This is the Guinea Pig headlamp assembly, solid but tatty would be the best way to describe it |
|
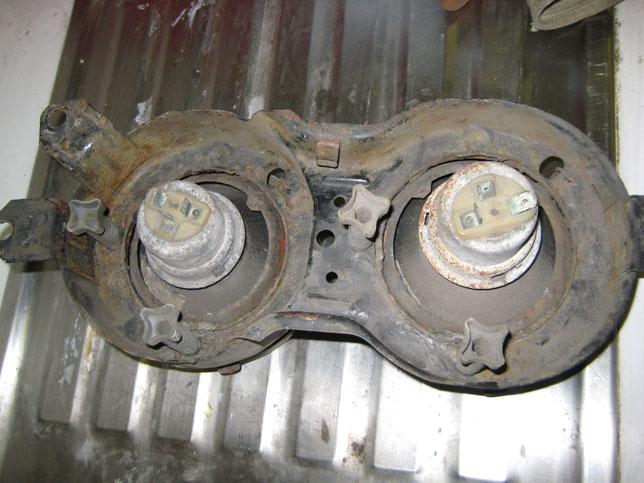 |
The back bowls were not as bad as some that I have seen, and indeed some of the spares that I have, I thought they would make a good test sample |
|
|
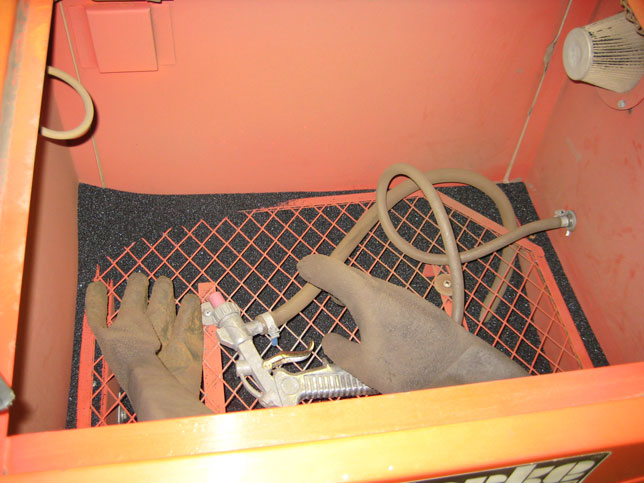
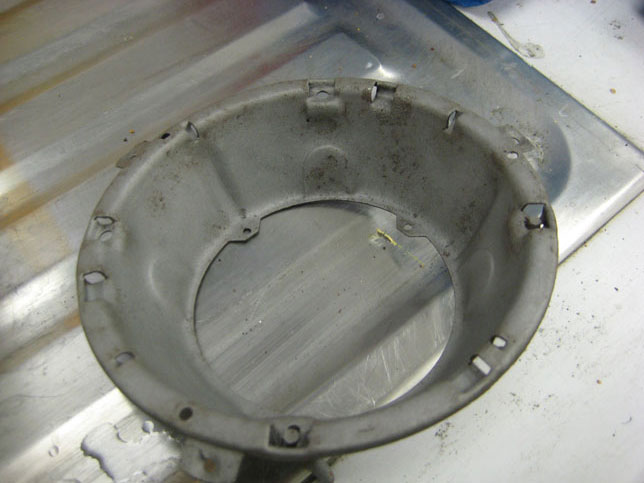
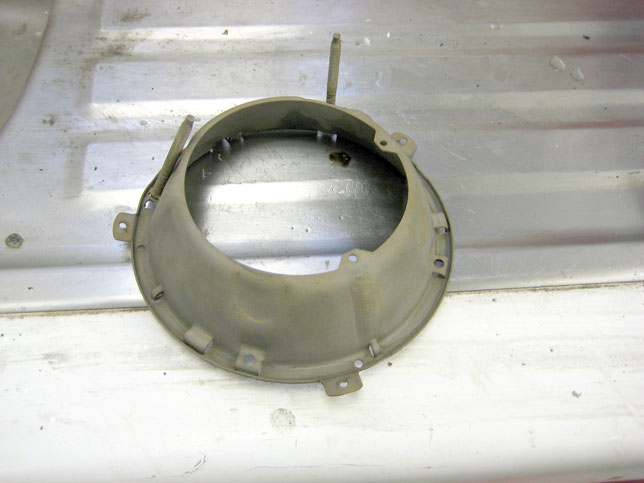
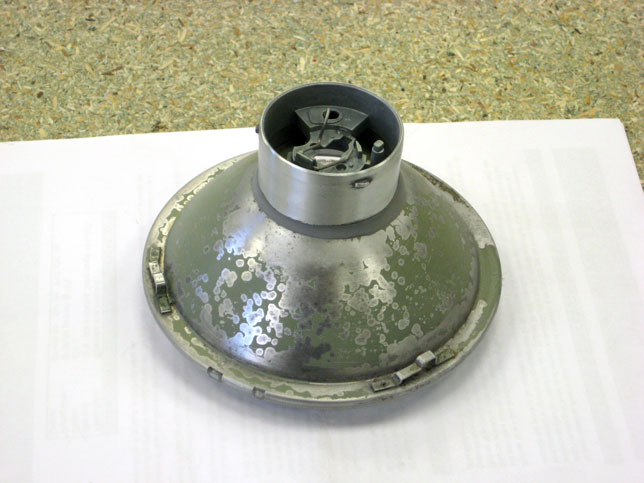
The blast cabinet really does work it can be a bit slow as the gun head is quite small, so it can take some time to go over every inch of the unit, for both sides I think this took about 20 minutes |
|
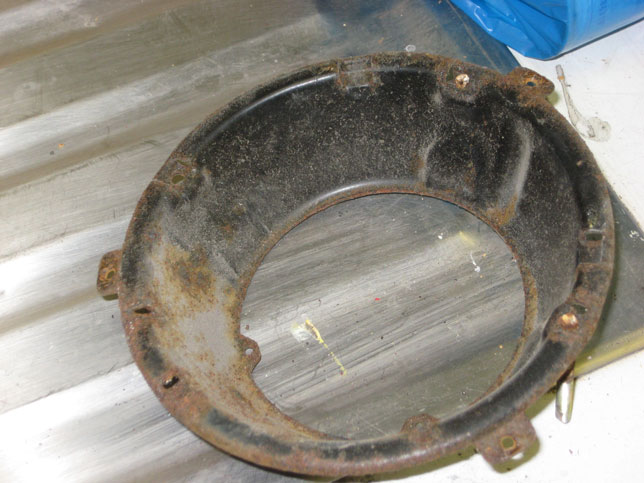
There was still some evidence of deep rooted rust in some of the pits, but this was fine as it also gave me the excuse to try out my other recent find |
|
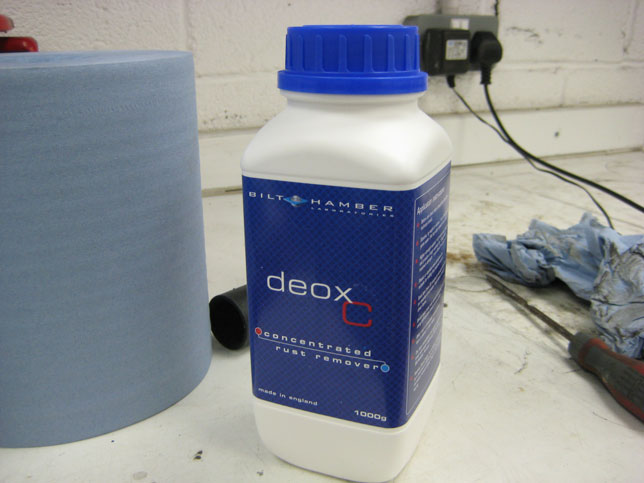
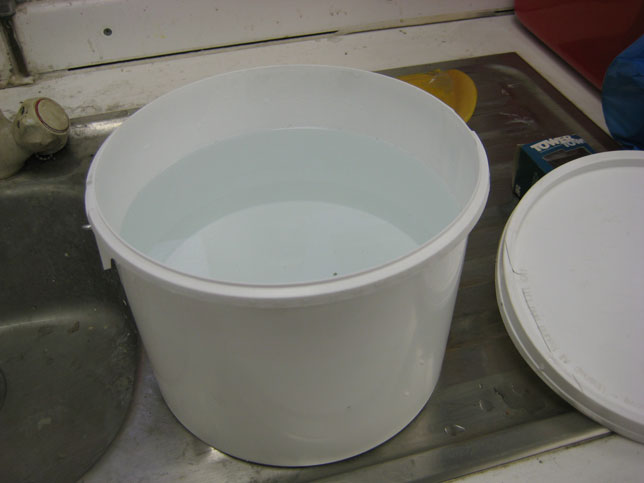
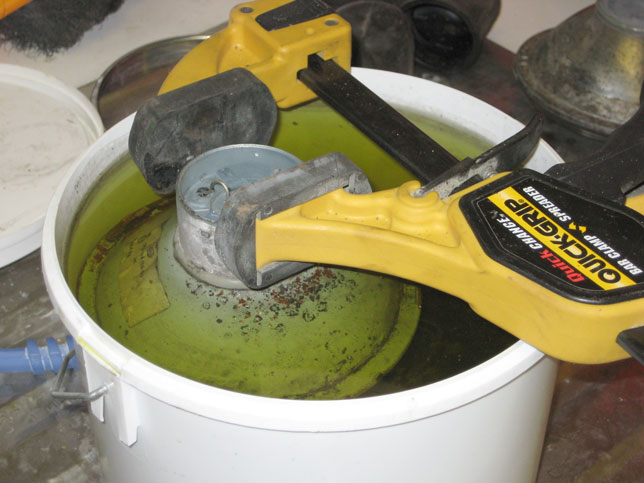
This is Bilt Hamber Deox C, Rust remover, I had my doubts but thought why not, give it a go |
|
You add a quantity to clean water, the ratio is 1 part powder to 19 parts water. |
 |
Then put the parts in and leave for 24 hours, Couldn't be easier, just have to wait now to see what happens |
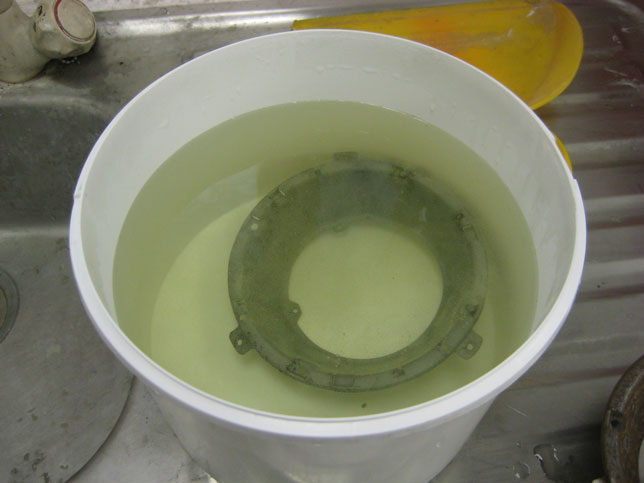 |
After 24 hours, you take the parts out, the solution has started to go yellow, this can be reused in this state until it is very dark yellow, almost black in colour. As I had already shot blast most of the rust off then the solution should last a while longer yet. |
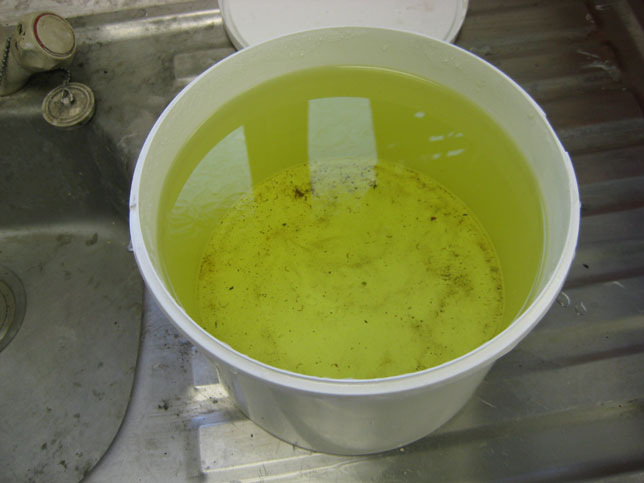 |
Then you rinse in clean water to neutralize the solution, it is difficult to tell from these photos but believe me all the rust has gone, the yellow staining is just the solution residue, this is easily removed with a wire brush, or even a plastic bristle brush during the washing stage. |
 |
Any rust from even the most inaccessible places is all gone, you would never get them this clean even with blasting, I would thoroughly recommend it and will certainly be buying some more when I have used this batch up |
 |
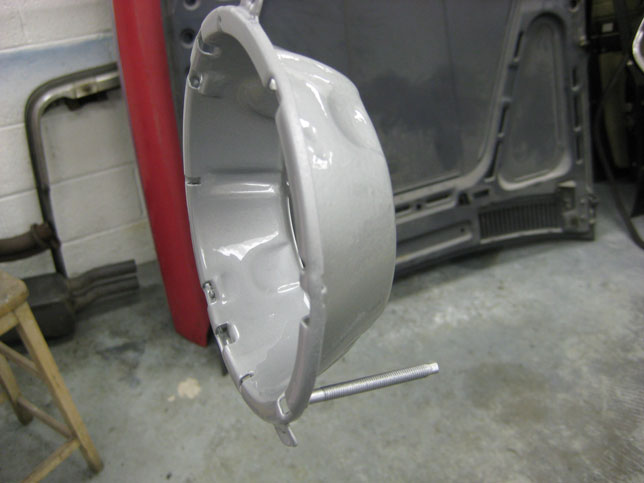
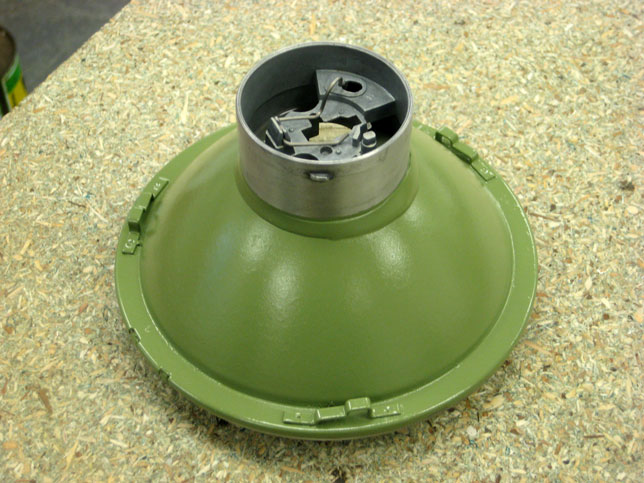
Then simply a matter of primering and painting, I have just used a wheel silver paint and clear lacquer, most of this will remain unseen when finished, but hopefully at least it won't rust quite as quickly. I did think about getting them plated, but I have never had this done before and don't know of a suitable local business who can carry this out, some parts later may be better being plated, so I will have to look around. |
 |
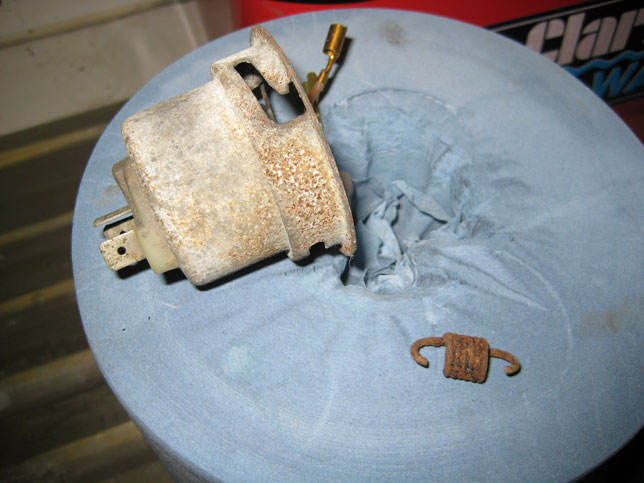
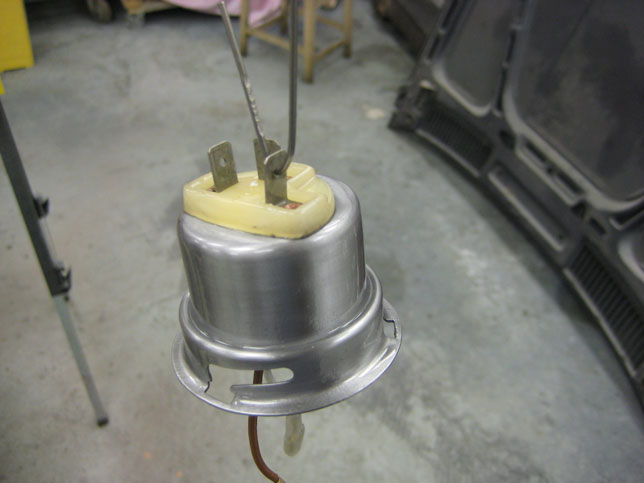
These are the connecter to the rear of the Hella Headlight unit and one of the retaining springs to the above bowl, notice how rusty the spring is. |
 |
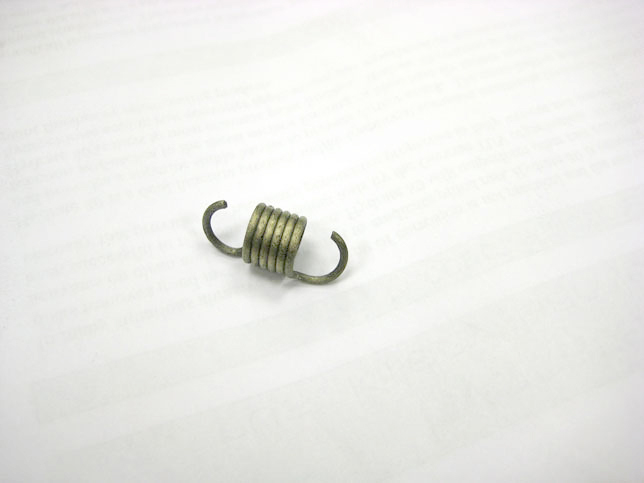
24 hours later and after a wash and scrub with a plastic bristle brush |
 |
Same for the spring, notice the huge difference, that is actually the original plating still intact under the rust |
 |
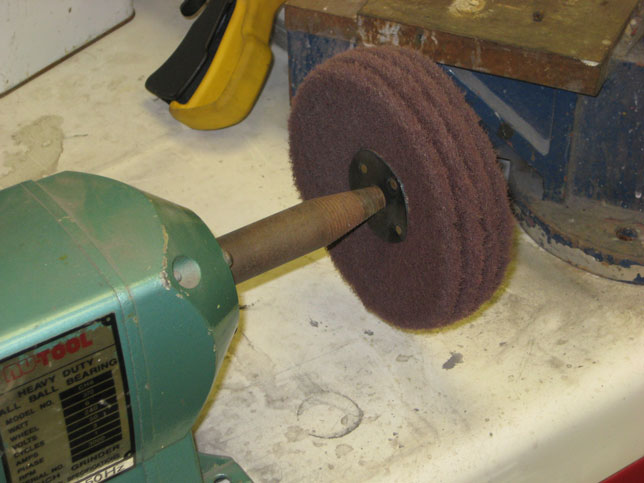
I decided to try to buff the body of the headlight connectors, to try to brighten them up, I didn't need anything really abrasive so used this scotchbrite wheel on my bench grinder |
 |
This is the result after a couple of minutes |
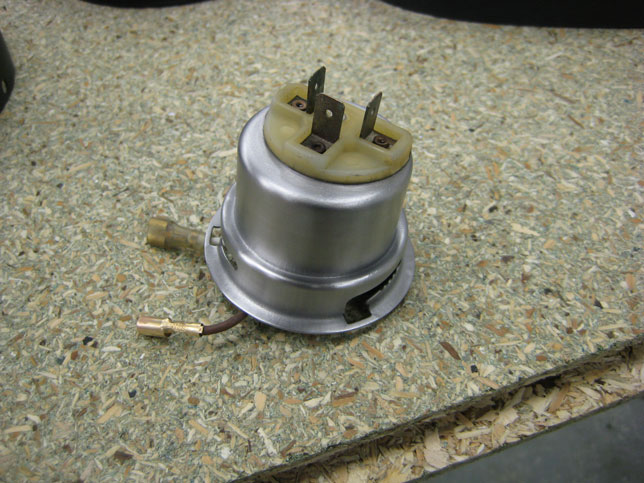 |
Then a quick coat of lacquer to protect the finish and stop them corroding again |
 |
| IMPORTANT NOTE |
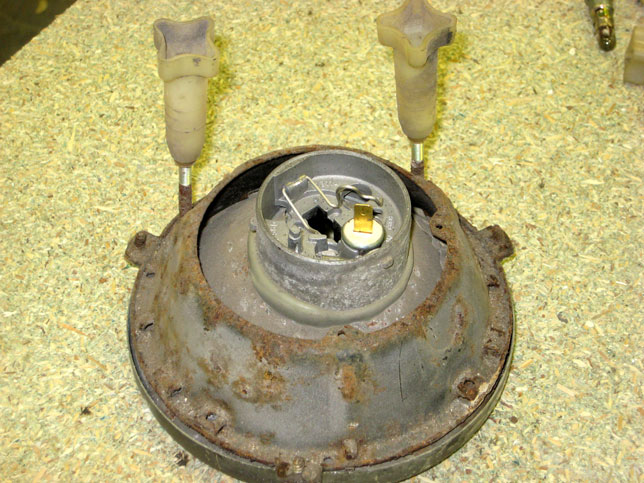
The back headlight bowls are different for the high beam light and the dipped beam light, also to add further confusion they are then both handed left and right. make sure you check these out before you get as far as I did, only to find out that, because I had a selection to choose from, that you are actually restoring an incomplete set. Fortunately it was not as bad as it could of been, and I only need to find and prepare 1 other back bowl, but it could have been a lot worse. |
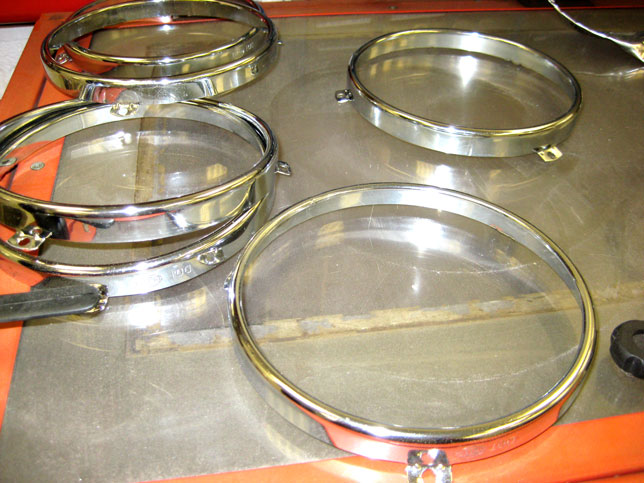
The Deox C solution also worked on the chrome headlight bezels, removing all traces of rust without affecting the chrome plating, these are the bezels after washing but before any cleaning with chrome cleaner |
 |
The Headlights themselves were not to bad, I did not want to buy new ones at this stage so decided to have a go at cleaning these up also |
 |
I set up this arrangement to dip them in the Deox C solution, as I found out while doing a test sample that the Deox C eats aluminium, which is what the top section of the headlight is made from |
 |
| Notice the aluminium section is completely eaten away, admittedly it had been left in for 3 days, but still a lesson to be learnt, but this was a test sample so no harm done |
 |
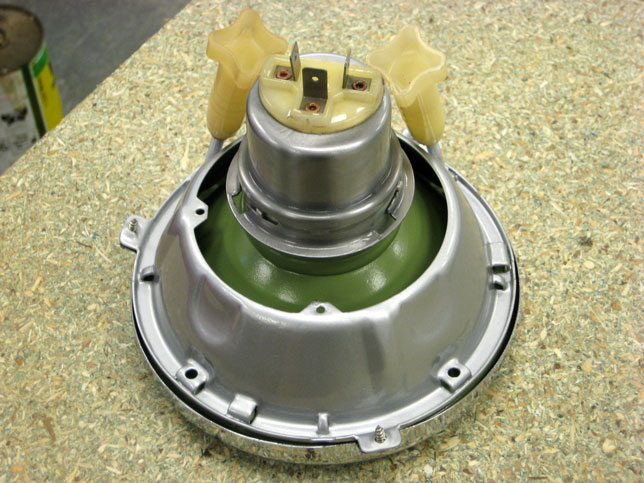
This is the real one, all traces of rust have gone, I have also polished the Aluminium section with the scotchbrite buff as previous, all they need now is a light rub over with a scotchbrite pad, a spray with some etch primer |
 |
and then a coating with some green spray, not a great colour match to the original I know, but the best I could find, I sprayed them with a very light last coating to try to replicate the original matt style finish |
 |
Now to assemble the parts done so far and the obligatory before and after shot just to keep the enthusiasm up
Before |
 |
After |
 |
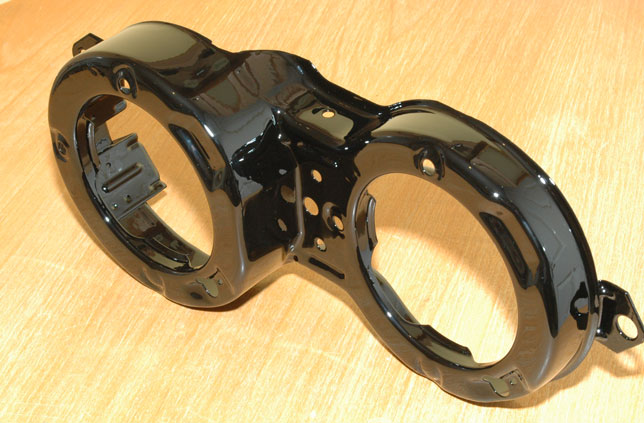
The Headlamp brackets after shot blasting and painting, I sprayed them in gloss black 2 pack for a durable hard finish. I have always just used a cheap £9.99 touch up gun for spraying parts like this in the past, the results have always been ok, but just recently I bought a SATA Minijet 4 HVLP gun, with a 1.2 SR tip, it is a top of the range gravity fed touch up gun and I think the results speak for themselves, I would thoroughly recomend this gun for anyone considering buying one, and it really proves the old saying that you get what you pay for. This is the finish straight from the gun without any polishing or buffing |
 |
The fully assembled headlight assembly, |
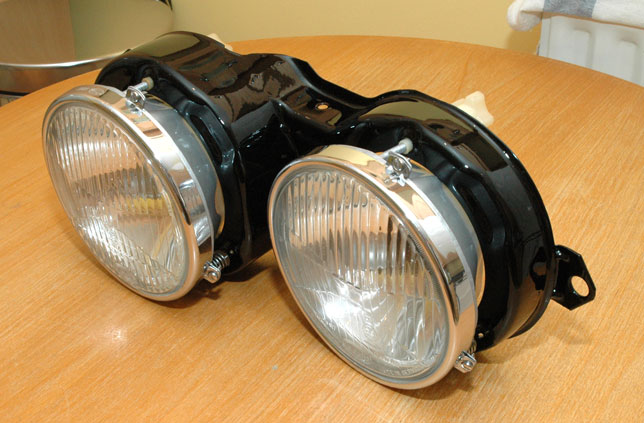 |
If I can keep the standard like this for the rest of the car I will be very happy |
 |
And the before shots again just for comparison |
 |
|
These parts will now be wrapped in bubble wrap and clingfilm and safely stored until it comes the time to fit them. |
| Back to Index |